

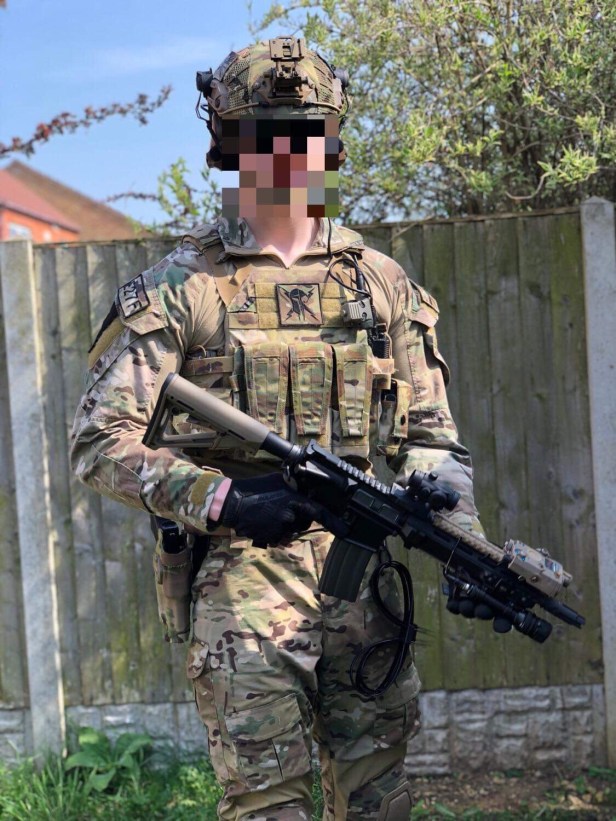
Words and Pics: @TheOtherGuy1999
How it Began
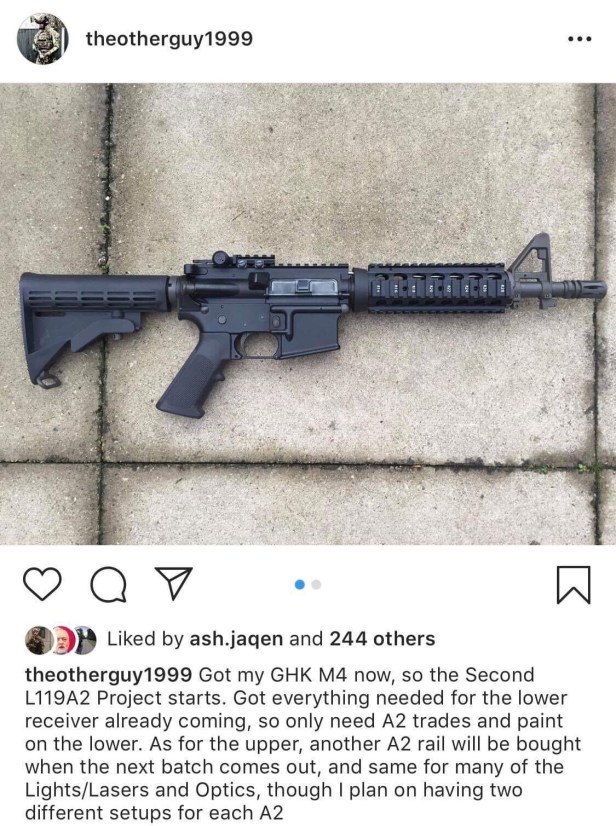
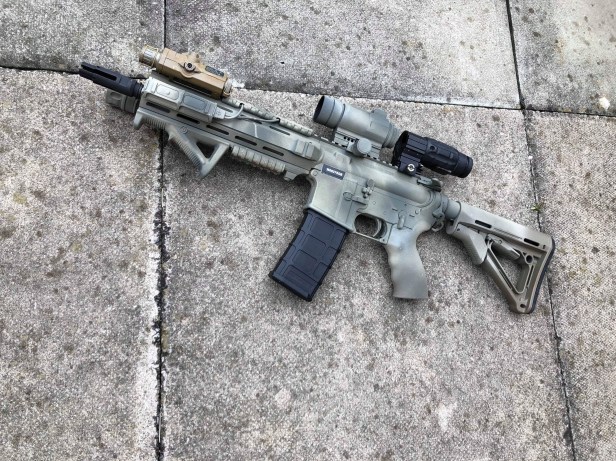
The GHK L119A2 project started January 2018, as just a bare bones GHK 10.5” M4. I knew what I wanted to achieve, but at the time I wasn’t particularly sure how I was going to set it up or how to paint it.
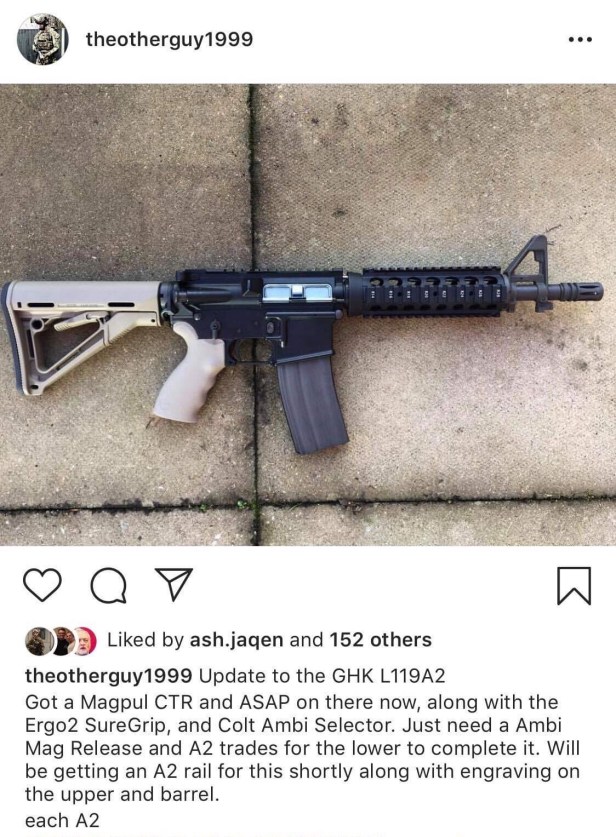
As the build started to progress with key stock A2 parts like the CTR, Ergo grip, ambi selector and the Angry Gun rail installed, I was going for quite a ‘high speed’ slick A2 set up, which I had transferred from my TM; though the intention was to have two different A2 set ups.
After a while, though, I wanted a bit more direction with the project, so that I knew what I was aiming towards and when to finally call it complete.
The Game Changing Reference Pic
There was always one non-public reference picture set I kept going back to, because I loved how the rifle looked aesthetically and functionally. I say non-public, but in fairness – although it’s not totally open source and therefore publishable – a lot of people have seen that set.
I was quite lucky to have the pictures some time before starting the project, but it was only last November I decided I was going to go for it – and make it as accurate as I possibly could.
Clone Correct
To do this, I decided to get my upper receiver engraved and the barrel cut down to the correct 10”. This was the first step of many to come.
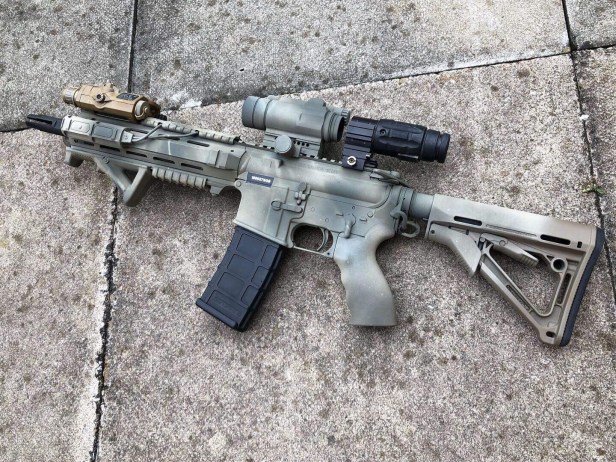
The end goal was to make the GHK look like an IUR, but retain the ability to remove the rail to access the hop and inner barrel, if I needed to. This was heavily inspired by Gaz and Mark’s modification with Miliput, to create the complex joins between the rail and upper receiver. Without their help I wouldn’t have been able to do it. I’m also glad to see more and more people doing it to their own A2 builds. The devil is in the detail!
If you want to see how to do it, check out my step by step guide.
Real Steel Parts
As I got deeper and deeper into the build, the more I wanted to try get real parts, and for me it’s more satisfying to see that my A2 is about as accurate as it can be.
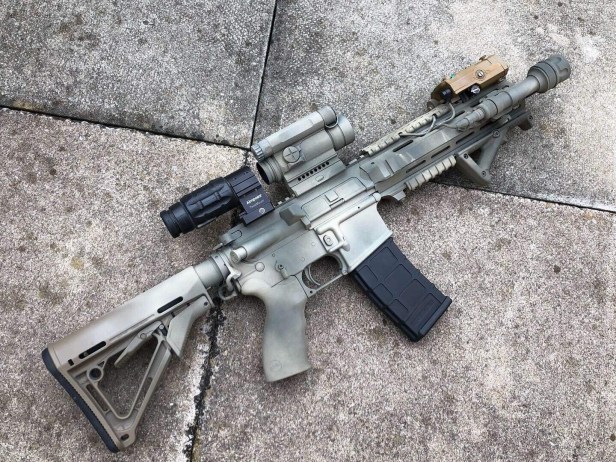
Most of the accessories took time to source because I didn’t want to spend BNIP prices. I played the waiting game, and half the time just got lucky. I acquired an M600V for a very good price, and shortly after got the Surefire dual switch as well.
The build seemed to be going well with replica CompM4 and magnifier on the rifle or in the post. Then I came across an Aimpoint magnifier on eBay and couldn’t resist it for the price. Even with customs on top it was a great deal!
By this point I knew I was going to get a real CompM4 as well, and as luck would have it, Mark was selling one. A mount and riser for the sight was going cheap on eBay!
Overall, it took me about 8 months to source all the various pieces, but I’ve really enjoyed focusing my attention on the build and getting it to a point I’m happy with.

Operator’s Preference
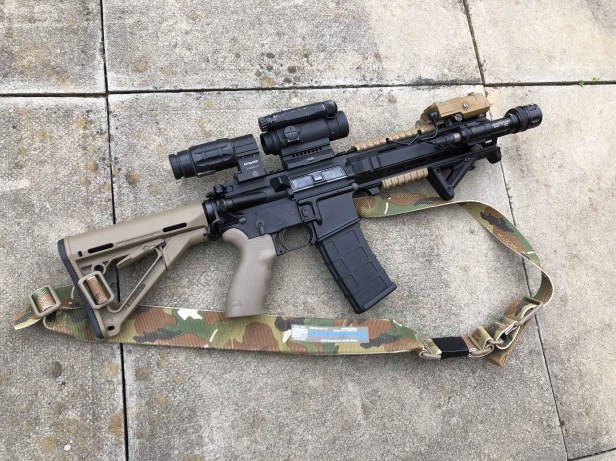
There are only a few deviations from the pics. The reference A2 in the picture uses a 1-point sling – possibly WAS – but after going to a BFG VTAC sling, I couldn’t bring myself to use a one point again. To go with my sling I’m using a low pro BFG unit, to which the sling mounts directly – with no hardware.

I prefer this to QD and clips as it doesn’t produce any noise, and I don’t have to worry about it accidentally releasing.
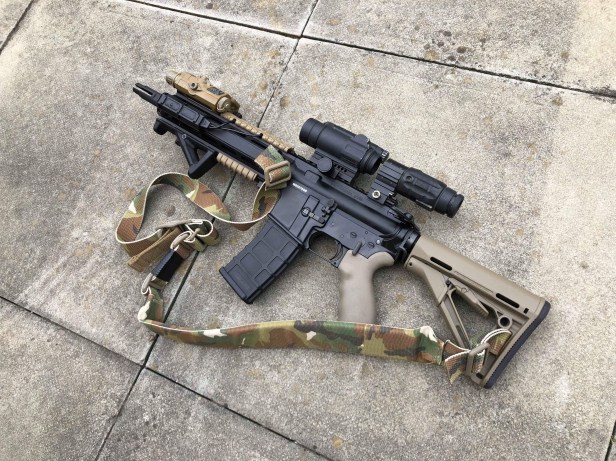
One other thing I chose to do was keep the LA5-B unpainted. I really like the ‘dropped in’ look of it on the rifle, plus after making the colour look more realistic I wanted that to show!
Check out my guide on how to make your replica LA5s look more realistic.
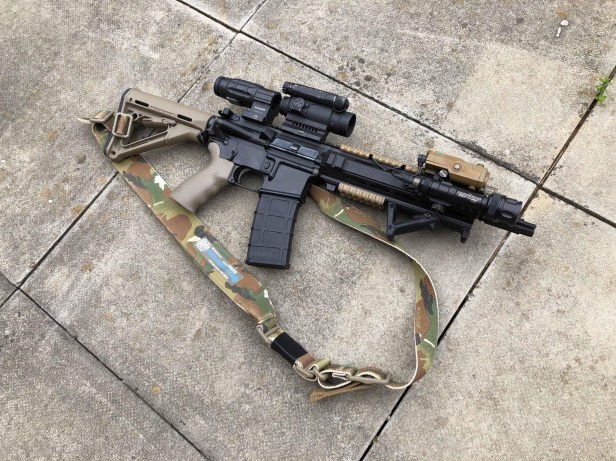
Paint
I just used Halfords Khaki and Green for the paint job. A quick 10 minute job, before it started raining.
I tried to copy the pics as best I could:
- Base coat of tan
- Then some green here and there
- Put it on light, because then it starts wearing quickly
Does the job!
In hindsight though, I maybe should have used a darker Tan – Krylon perhaps?
Next Steps
There’s not much left to do now. The lower receiver needs trades etc engraved, NSN lasered, and then re-painting; then the buffer tube mod that’s become essential – @miniburford_1084 and @mori_tac117 seem to have started that trend.
Then – finally – a suppressor. Most likely I’ll go with the HAO FA556SA when released. But I also have a cool can project in the works, that some people will definitely like!
Parts list
- GHK M4 V1
- Upper receiver engravings
- Barrel cut to correct 10”
- Angry Gun short L119A2 rail*
- Custom made heat shield*
- Miliput mod
- HAO FH556-216A*
- HAO Colt Canada replica cocking handle latch*
- HAO Colt Canada replica receiver extension nut*
- HAO Colt Canada replica ambi mag release*
- Colt Canada auto selector
- Ergo 2
- Magpul ASAP
- Magpul CTR
- Aimpoint CompM4
- Aimpoint 3x Magnifier w/ TwistMount
- Surefire Scout M600V
- Surefire dual switch
- Magpul AFG2
- Element LA5-B*
- Manta wire routing rail cover
- Manta pressure pad rail cover
- BFG sling mount
- BFG VTAV sling (not pictured)
*Repro
Follow @TheOtherGuy1999 on Instagram
Follow The Reptile House Blog on Facebook and Instagram
More articles, relating to the real steel L119A2:
- The Comprehensive UKSF (SAS/SBS) L119A2 Parts and Accessories List
- The original L119A2 primer, here
- GG&G AR15 vertical fore-grip in use here
- Magpul QDM and ASAP QD in use here
- 15.7″ L119A2 upper in use here
- Surefire FA556SA Suppressor here
- GG&G Aimpoint T1 mount in use here
- Magpul MS3 sling in use here
- Magpul ACS stock in use here
- Colt Canada parts – as used on the L119A2 – here
- Manta Very Low Profile Rail Covers as used on the L119A2 here
- UKSF Newcastle raid pics part 1
- UKSF Newcastle raid pics part 2
- UKSF Nairobi Kenya incident L119A2 parts breakdown here
- UKSF Belize ‘Jungle Set-up’ L119A2 parts breakdown here
- Confirmation bias (and the HSP Thorntail offset light mount) here
- UKSF Ecosystem: S&S Precision Sling Clip – Old Gen – here
- Inforce WML-type lights in use here
 Obi Wan Nairobi patch from Platatac
