

Words and Pics: Ryan from Backcountry Workshop
I blame Rich from The Reptile House for all this, as we got talking about Kryptek stencils and it got me thinking.
The steps:
- Choose your tools – paint/stencils
- Wing it
- Be safe
- Have fun
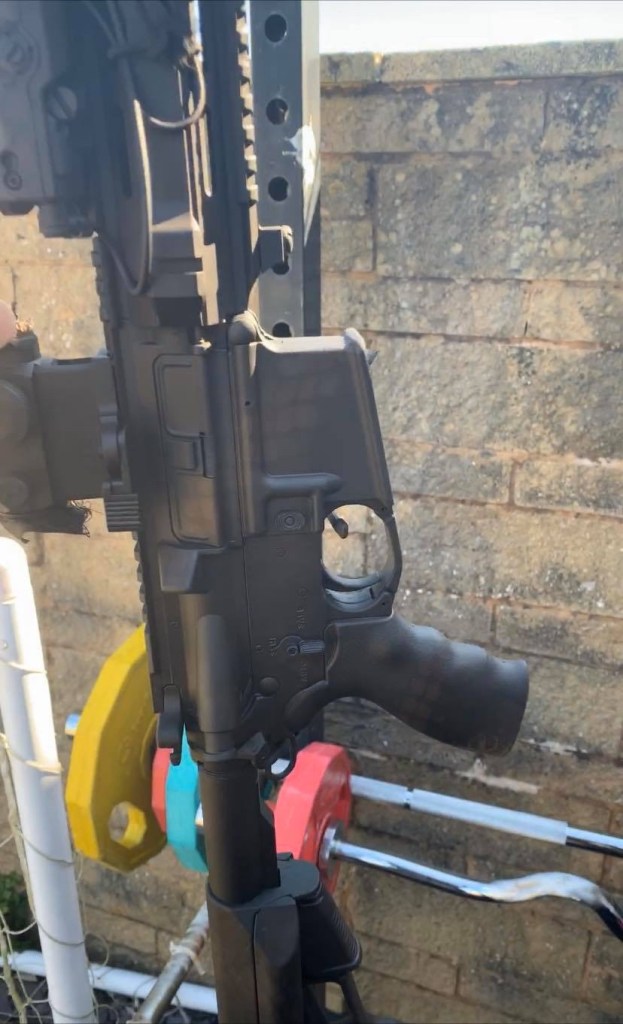
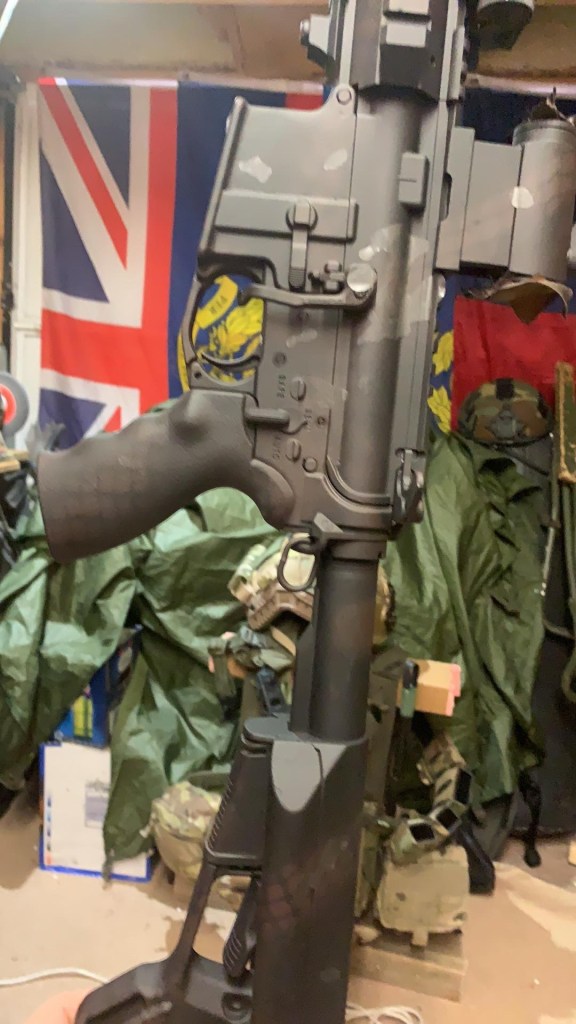
First thing I did was to just spray over the previous paint job in black. The reason I didn’t clean it off is that after this new paint job wears down, the black will show through a little and create a more natural look.
Then I took my trusty 17 year old scrim net and sprayed brown in random directions.
So it’s now time to start putting the stencils on (I got these from Ballistic Designs).
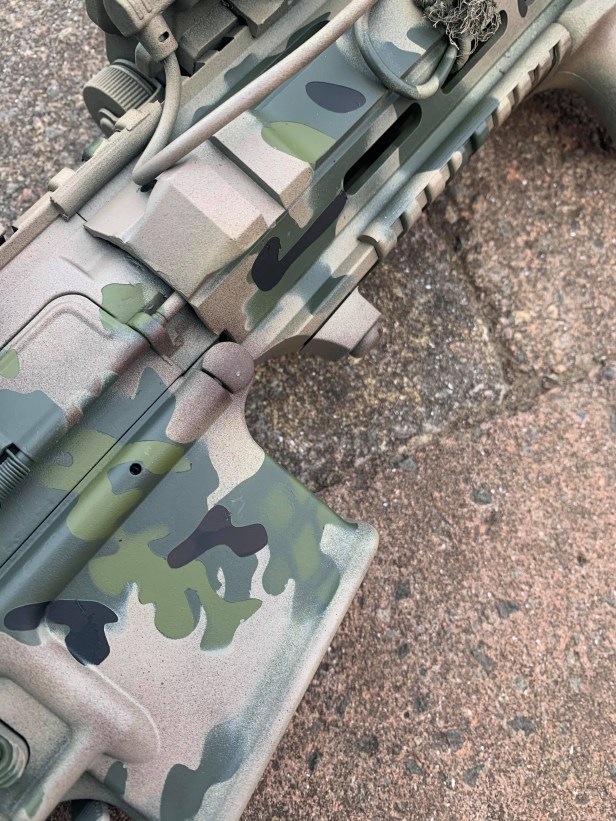
This is where winging it is key. Just put as many or all of the self-adhesive stencils on from the first sheet. I then chose Krylon Woodland Green and covered the whole rifle.
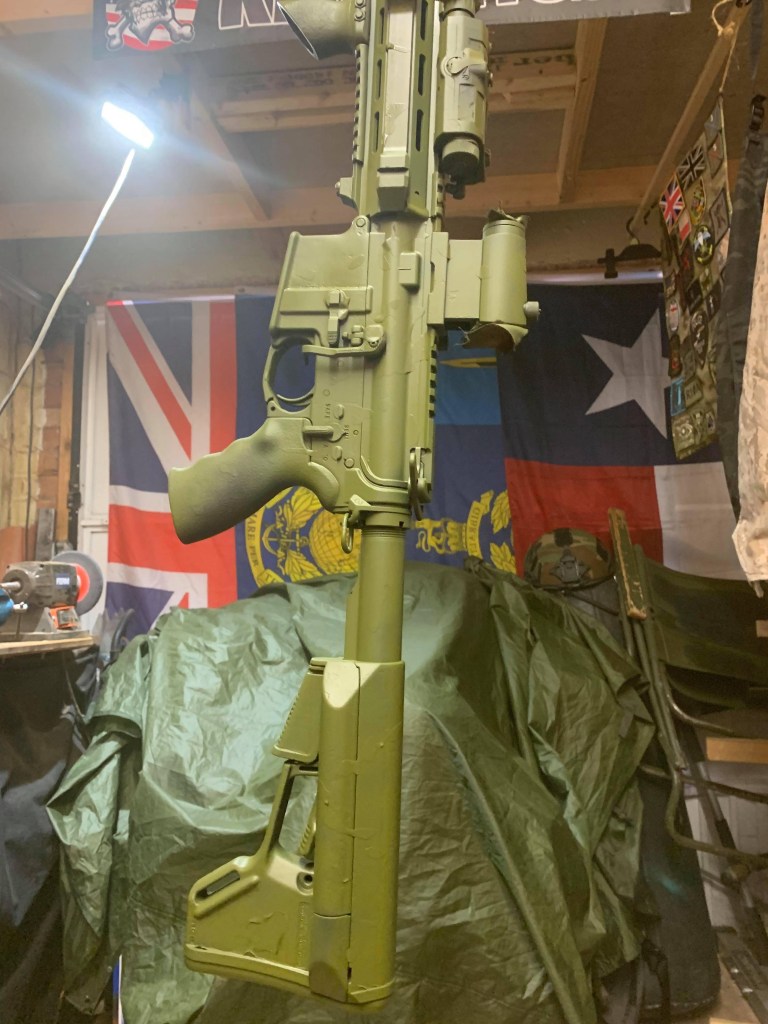
Next stage is to add more stencils and go with the darker green, which can be either Krylon Olive or Halfords Camo Green. Same process as before. I let this dry and then put the scrim net on again, and used the Woodland Green Halfords Camo Green – going multiple directions.
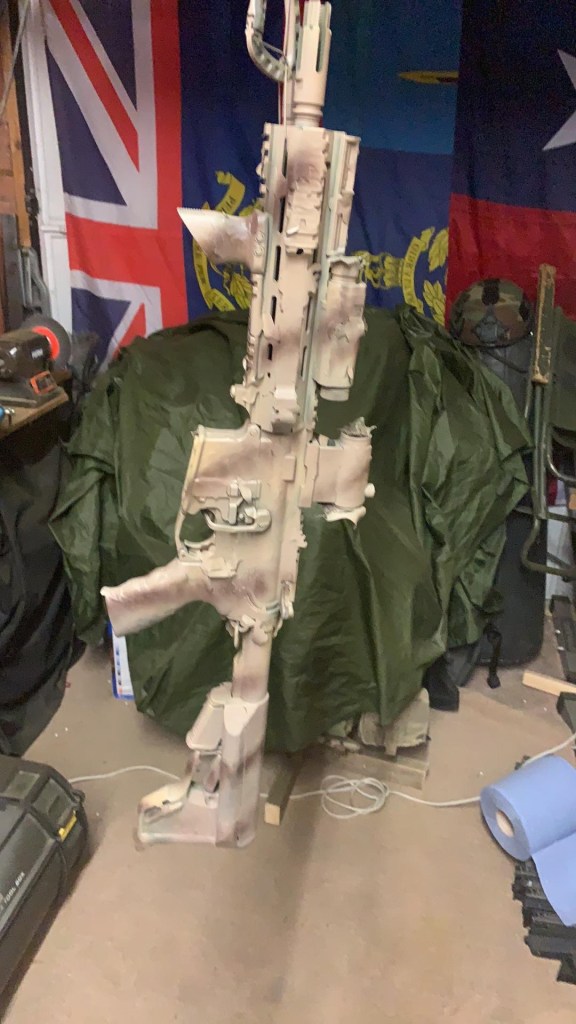
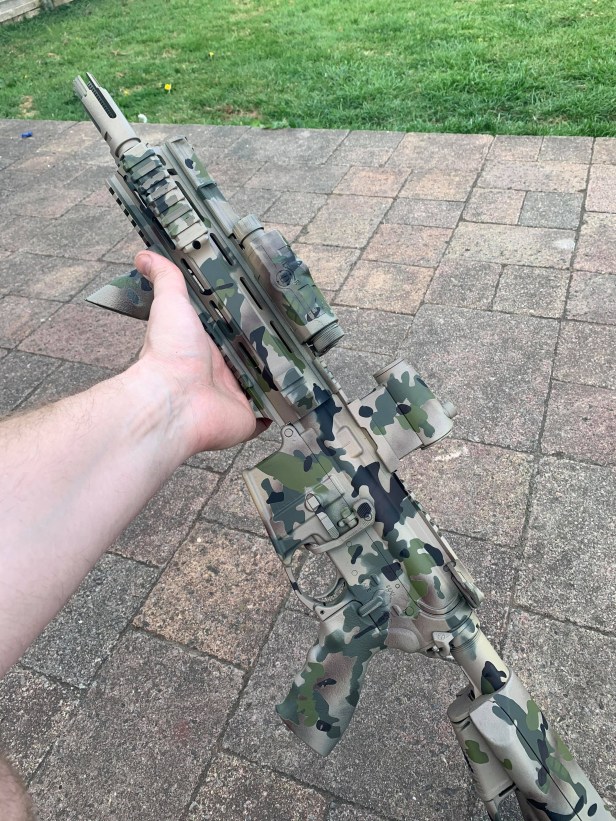
Once dry then it’s the last batch of stencils. In this case you want to cover a lot more of the rifle. I went with the lighter of the tans (either Krylon or Halfords will do), spraying the whole rifle. This time I left some parts not fully sprayed.
Then came Halfords Camo Brown and I just did stripes; then scrim net over again and just dusted with black.
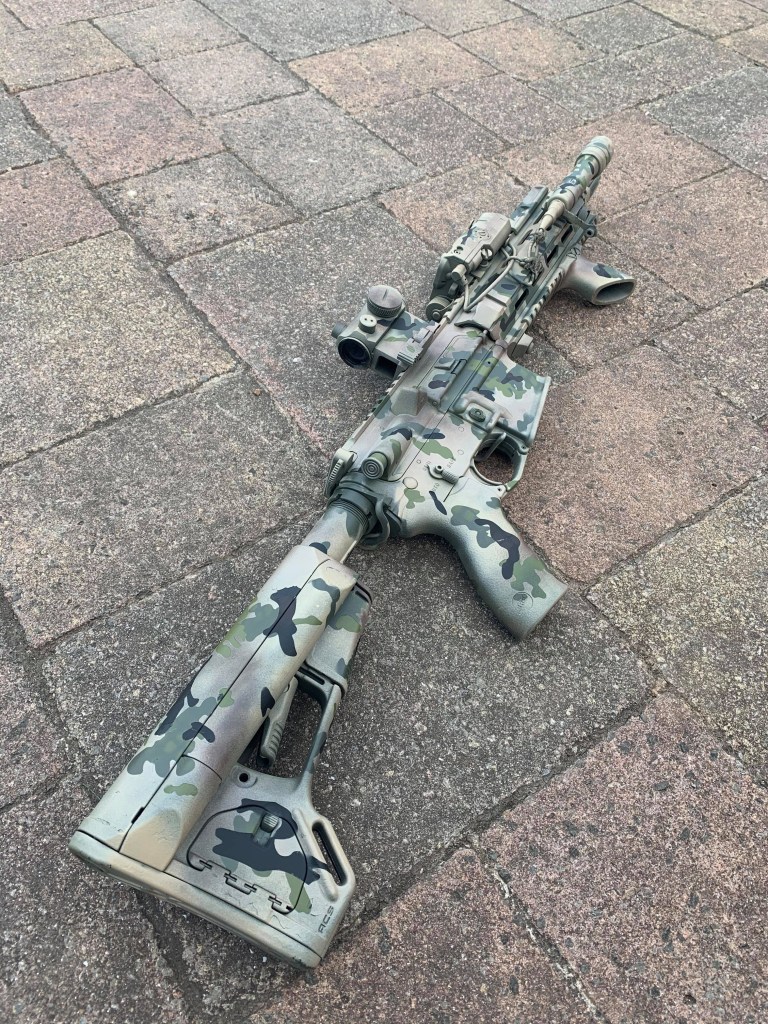
Final part and you have to be patient and let the whole thing dry, and then peel all the stencils off. This is the only time I felt like I wasn’t going to work out as well as my last job (see my no shit given guide on The Reptile House).
In hindsight, this was actually fun as it was a bit of an unknown. I have some stencils left, so I’ll be doing a holster.


Follow Backcountry Workshop on IG
