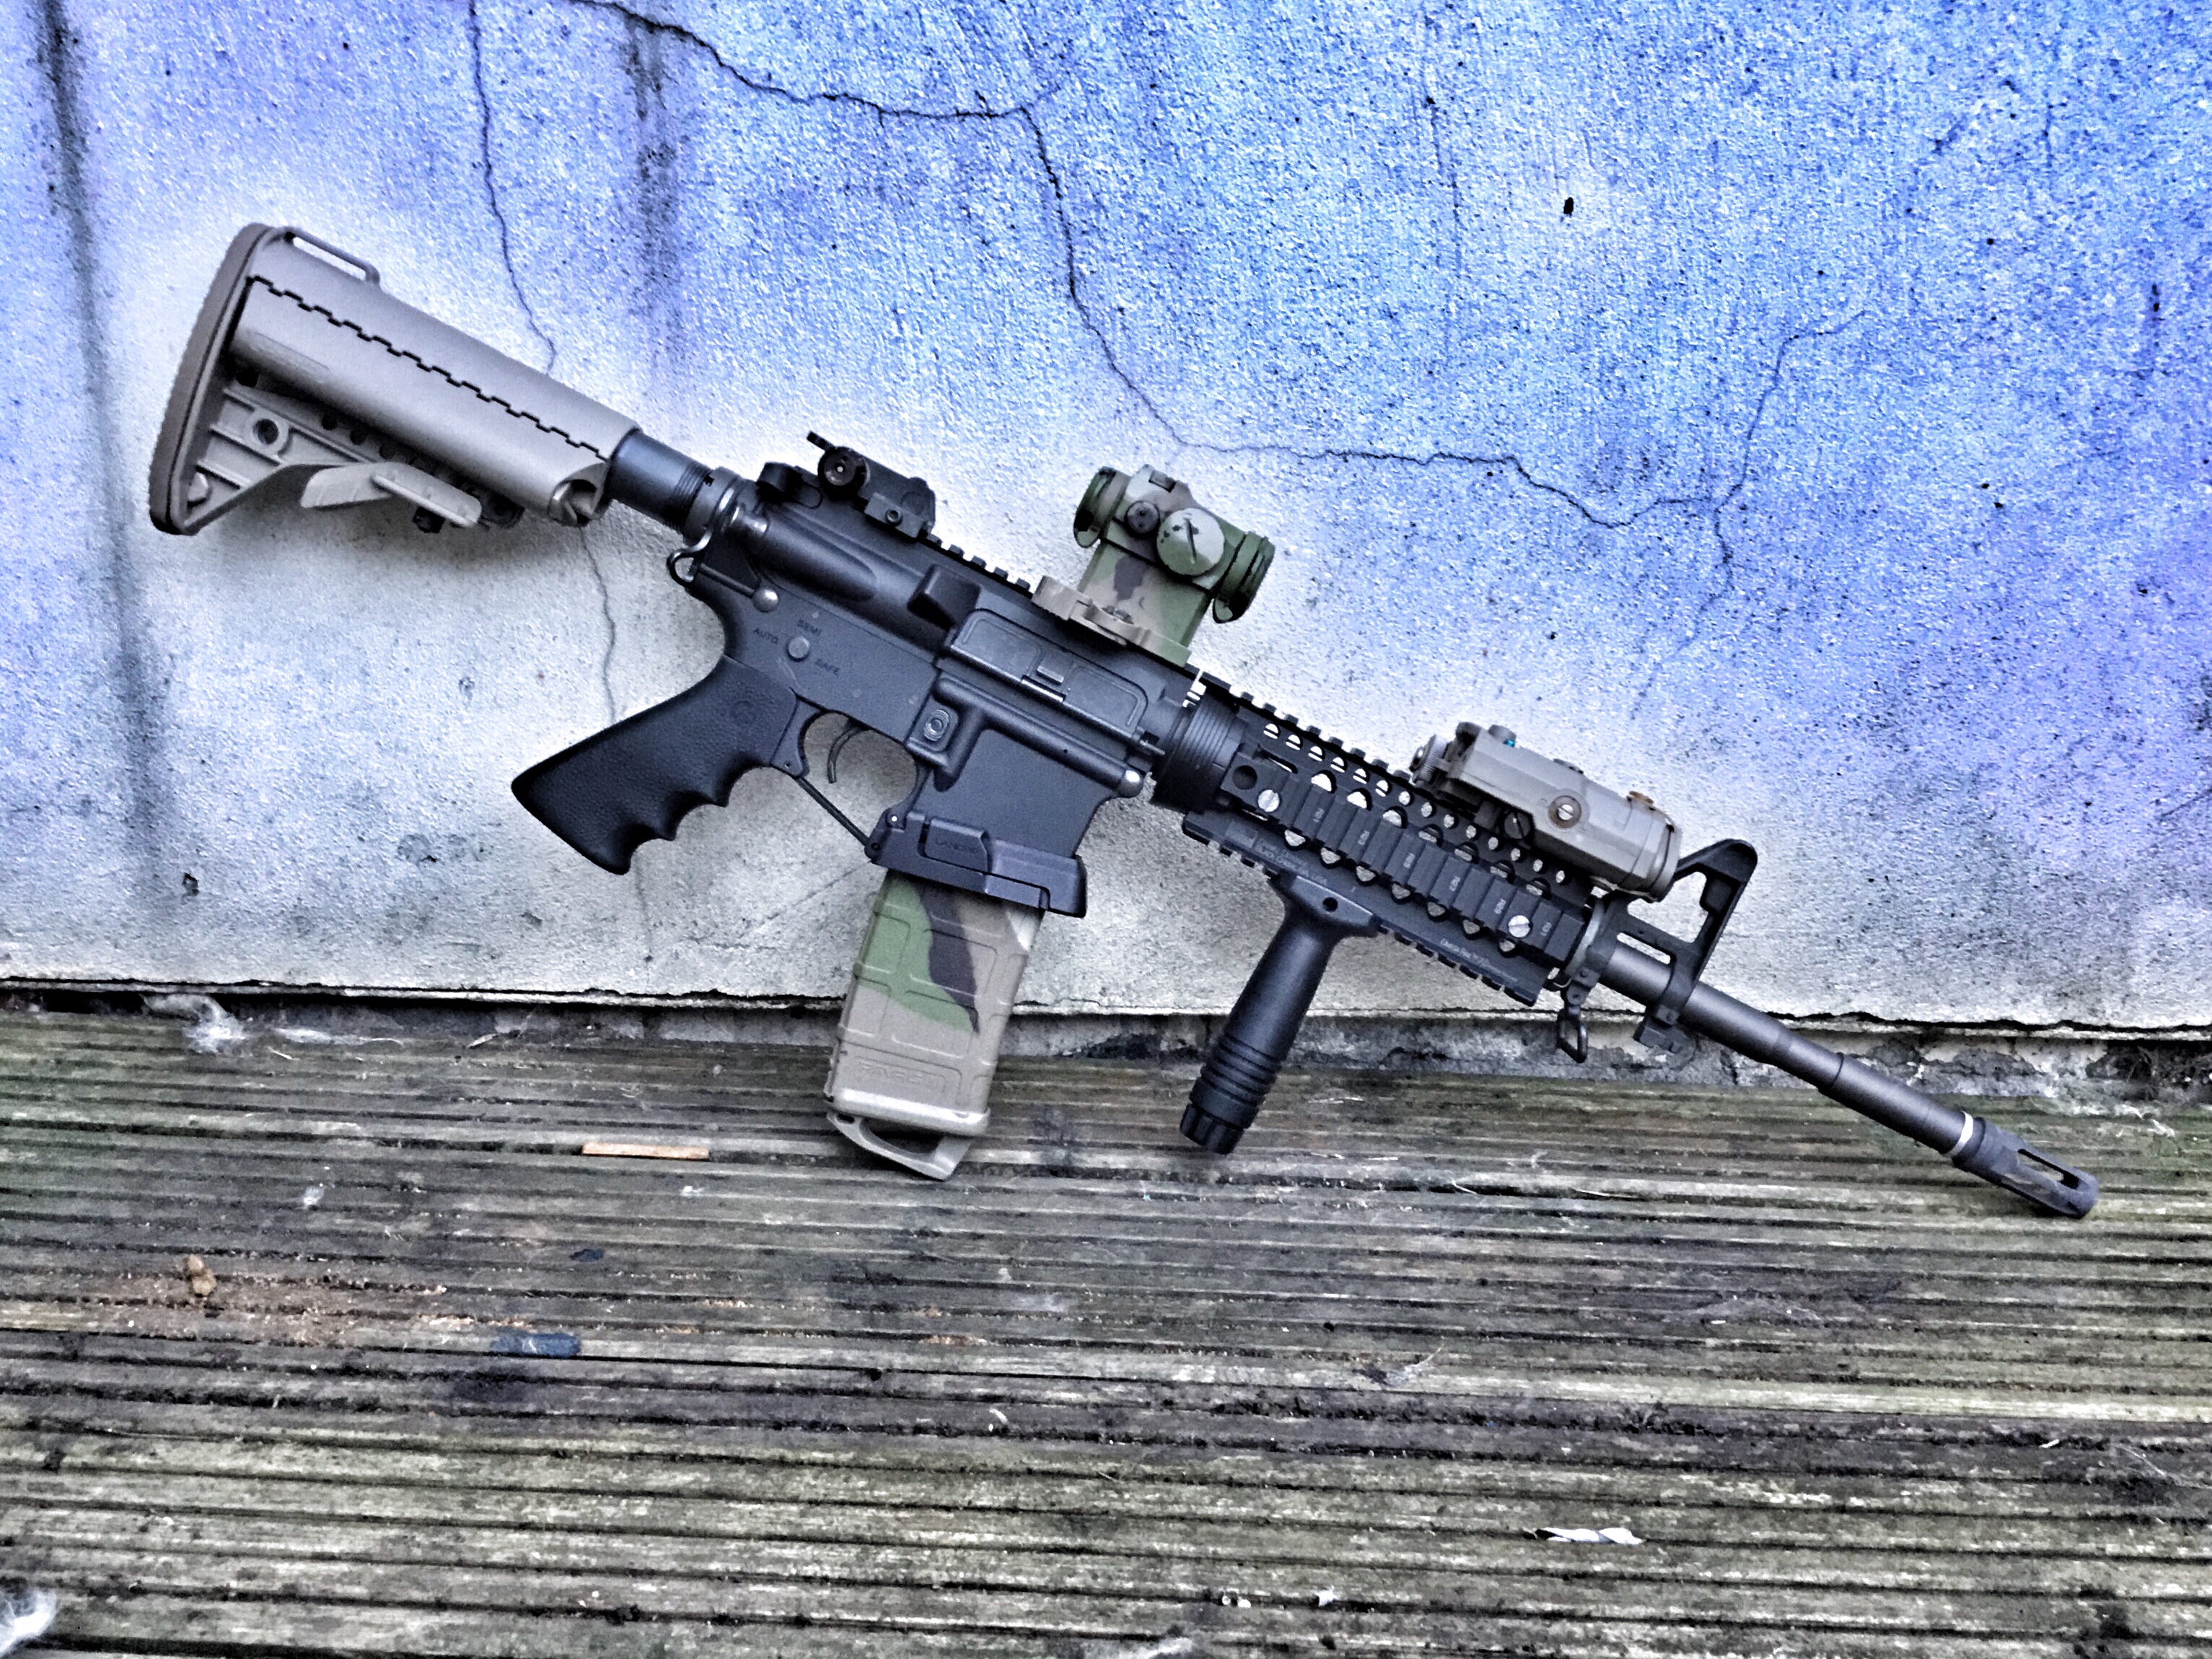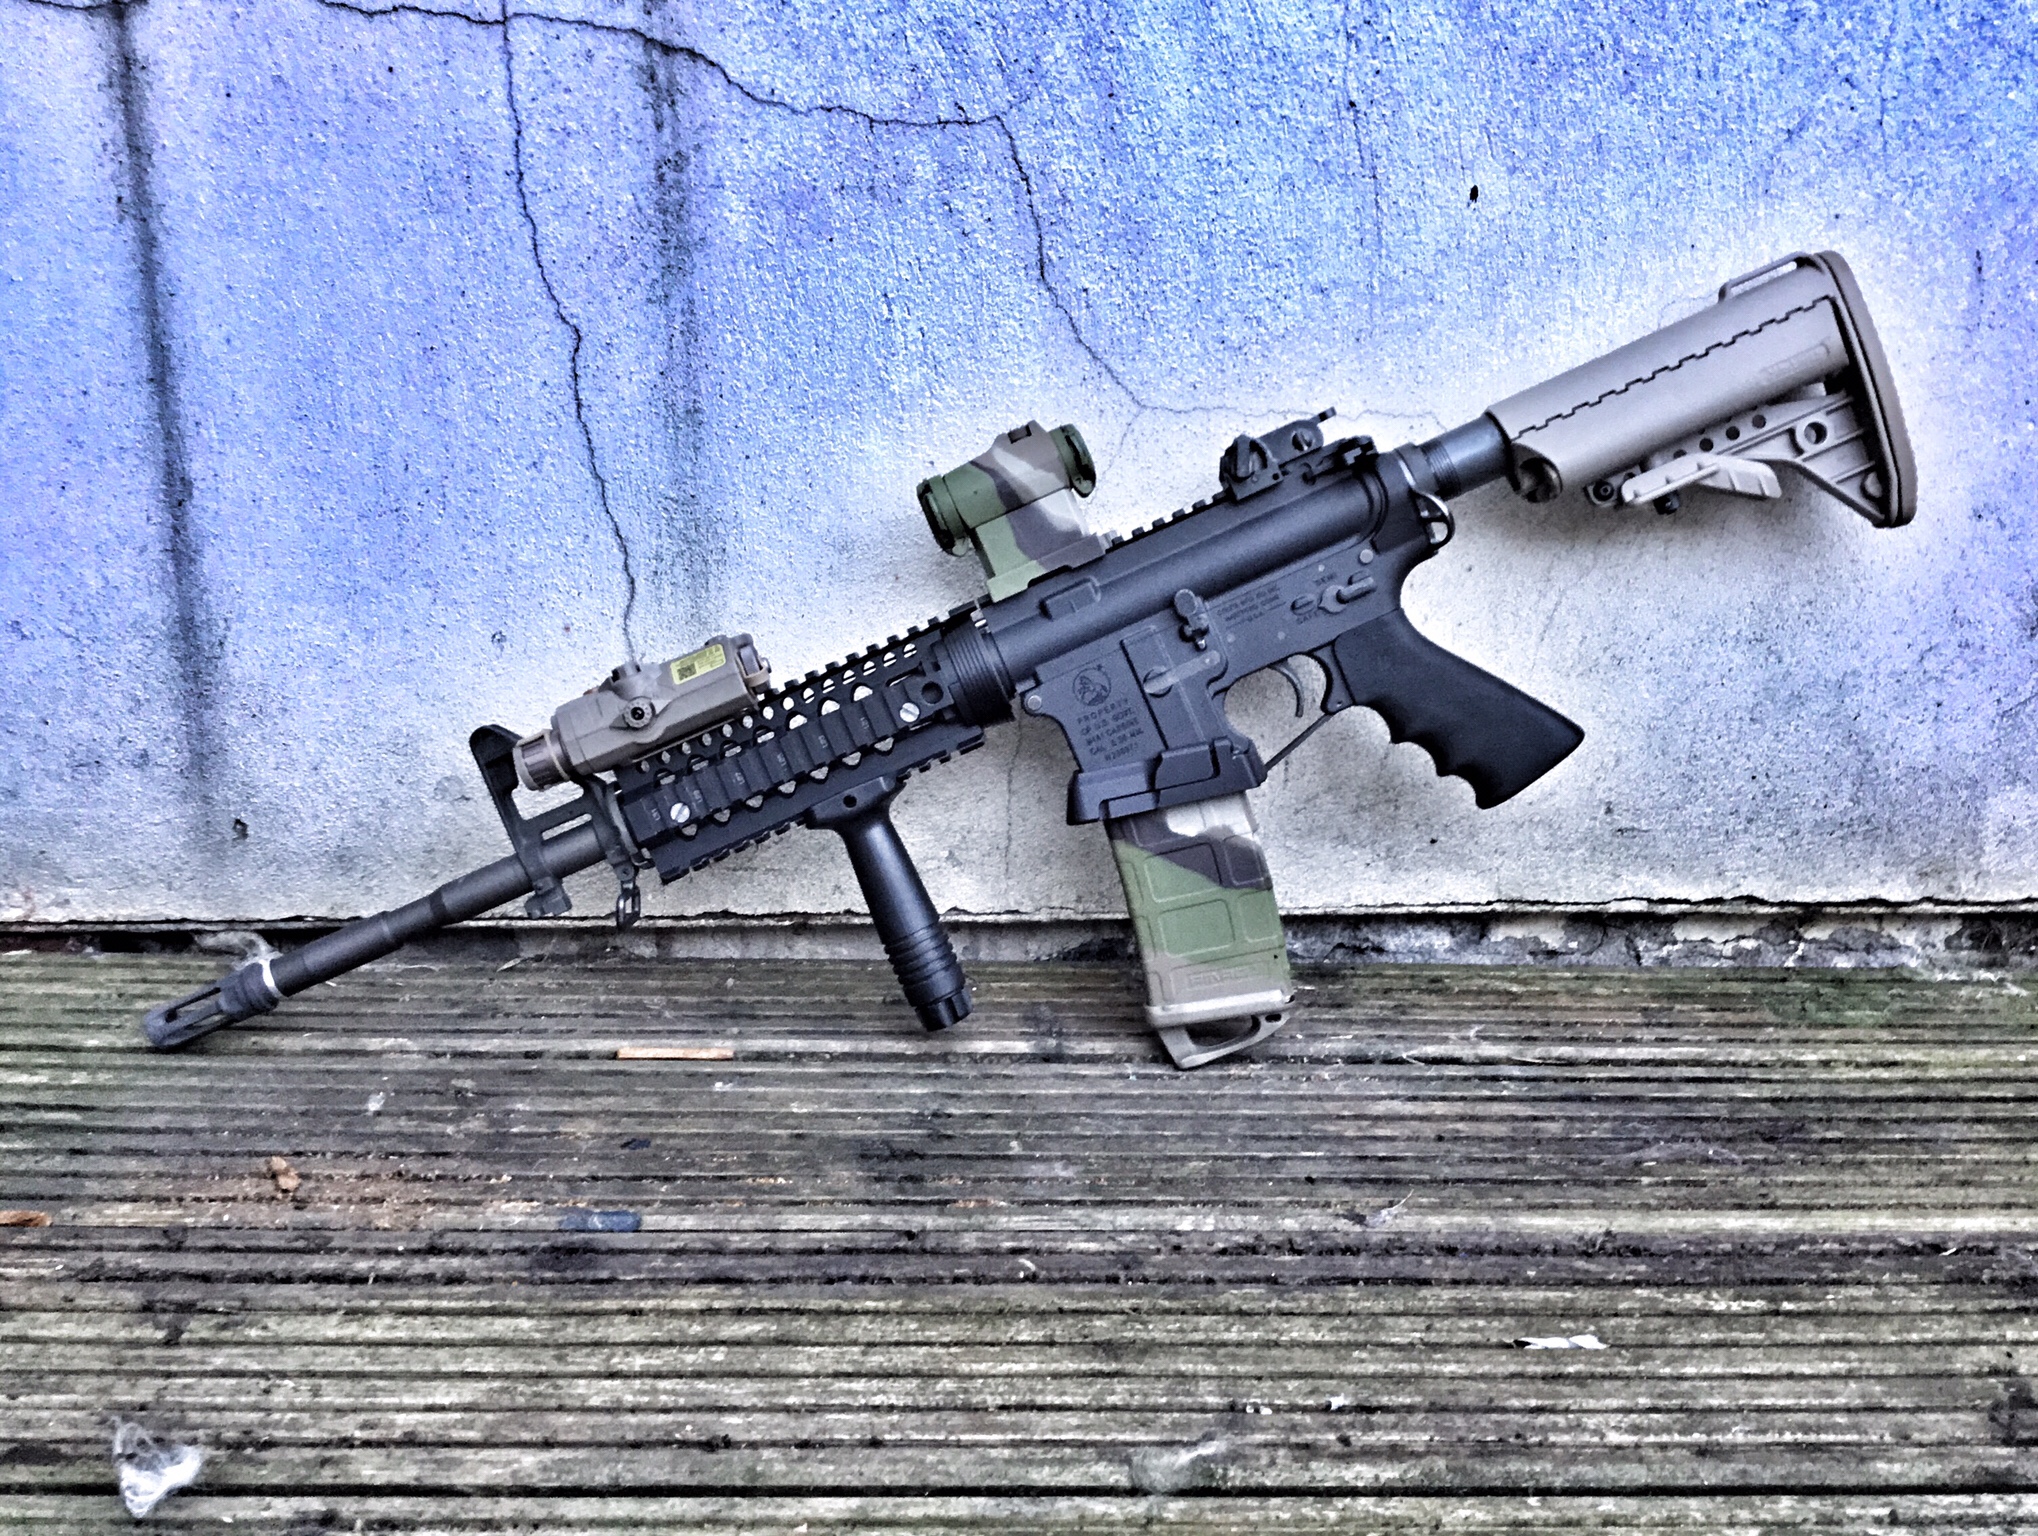
Recently, I was lucky enough to get hold of a Lancer Adaptive Magwell (Two Piece version) through a friend.
I’ve admired the Lancer product since it was released, but I’ve never been able to get hold of one. So, when the opportunity arose I didn’t have to think about it.
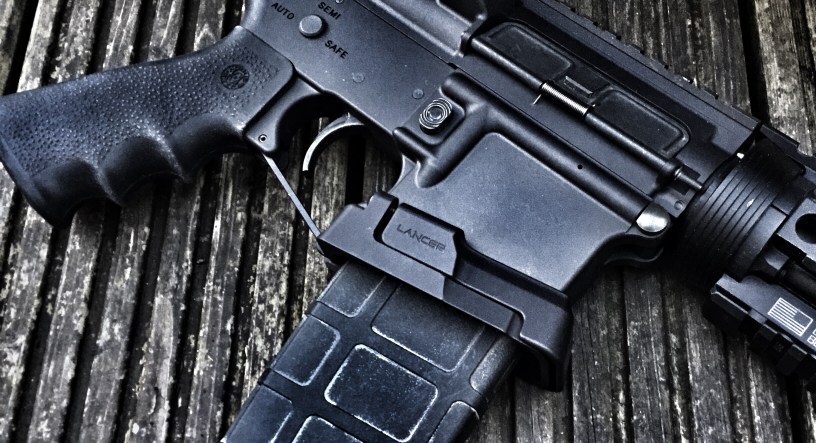
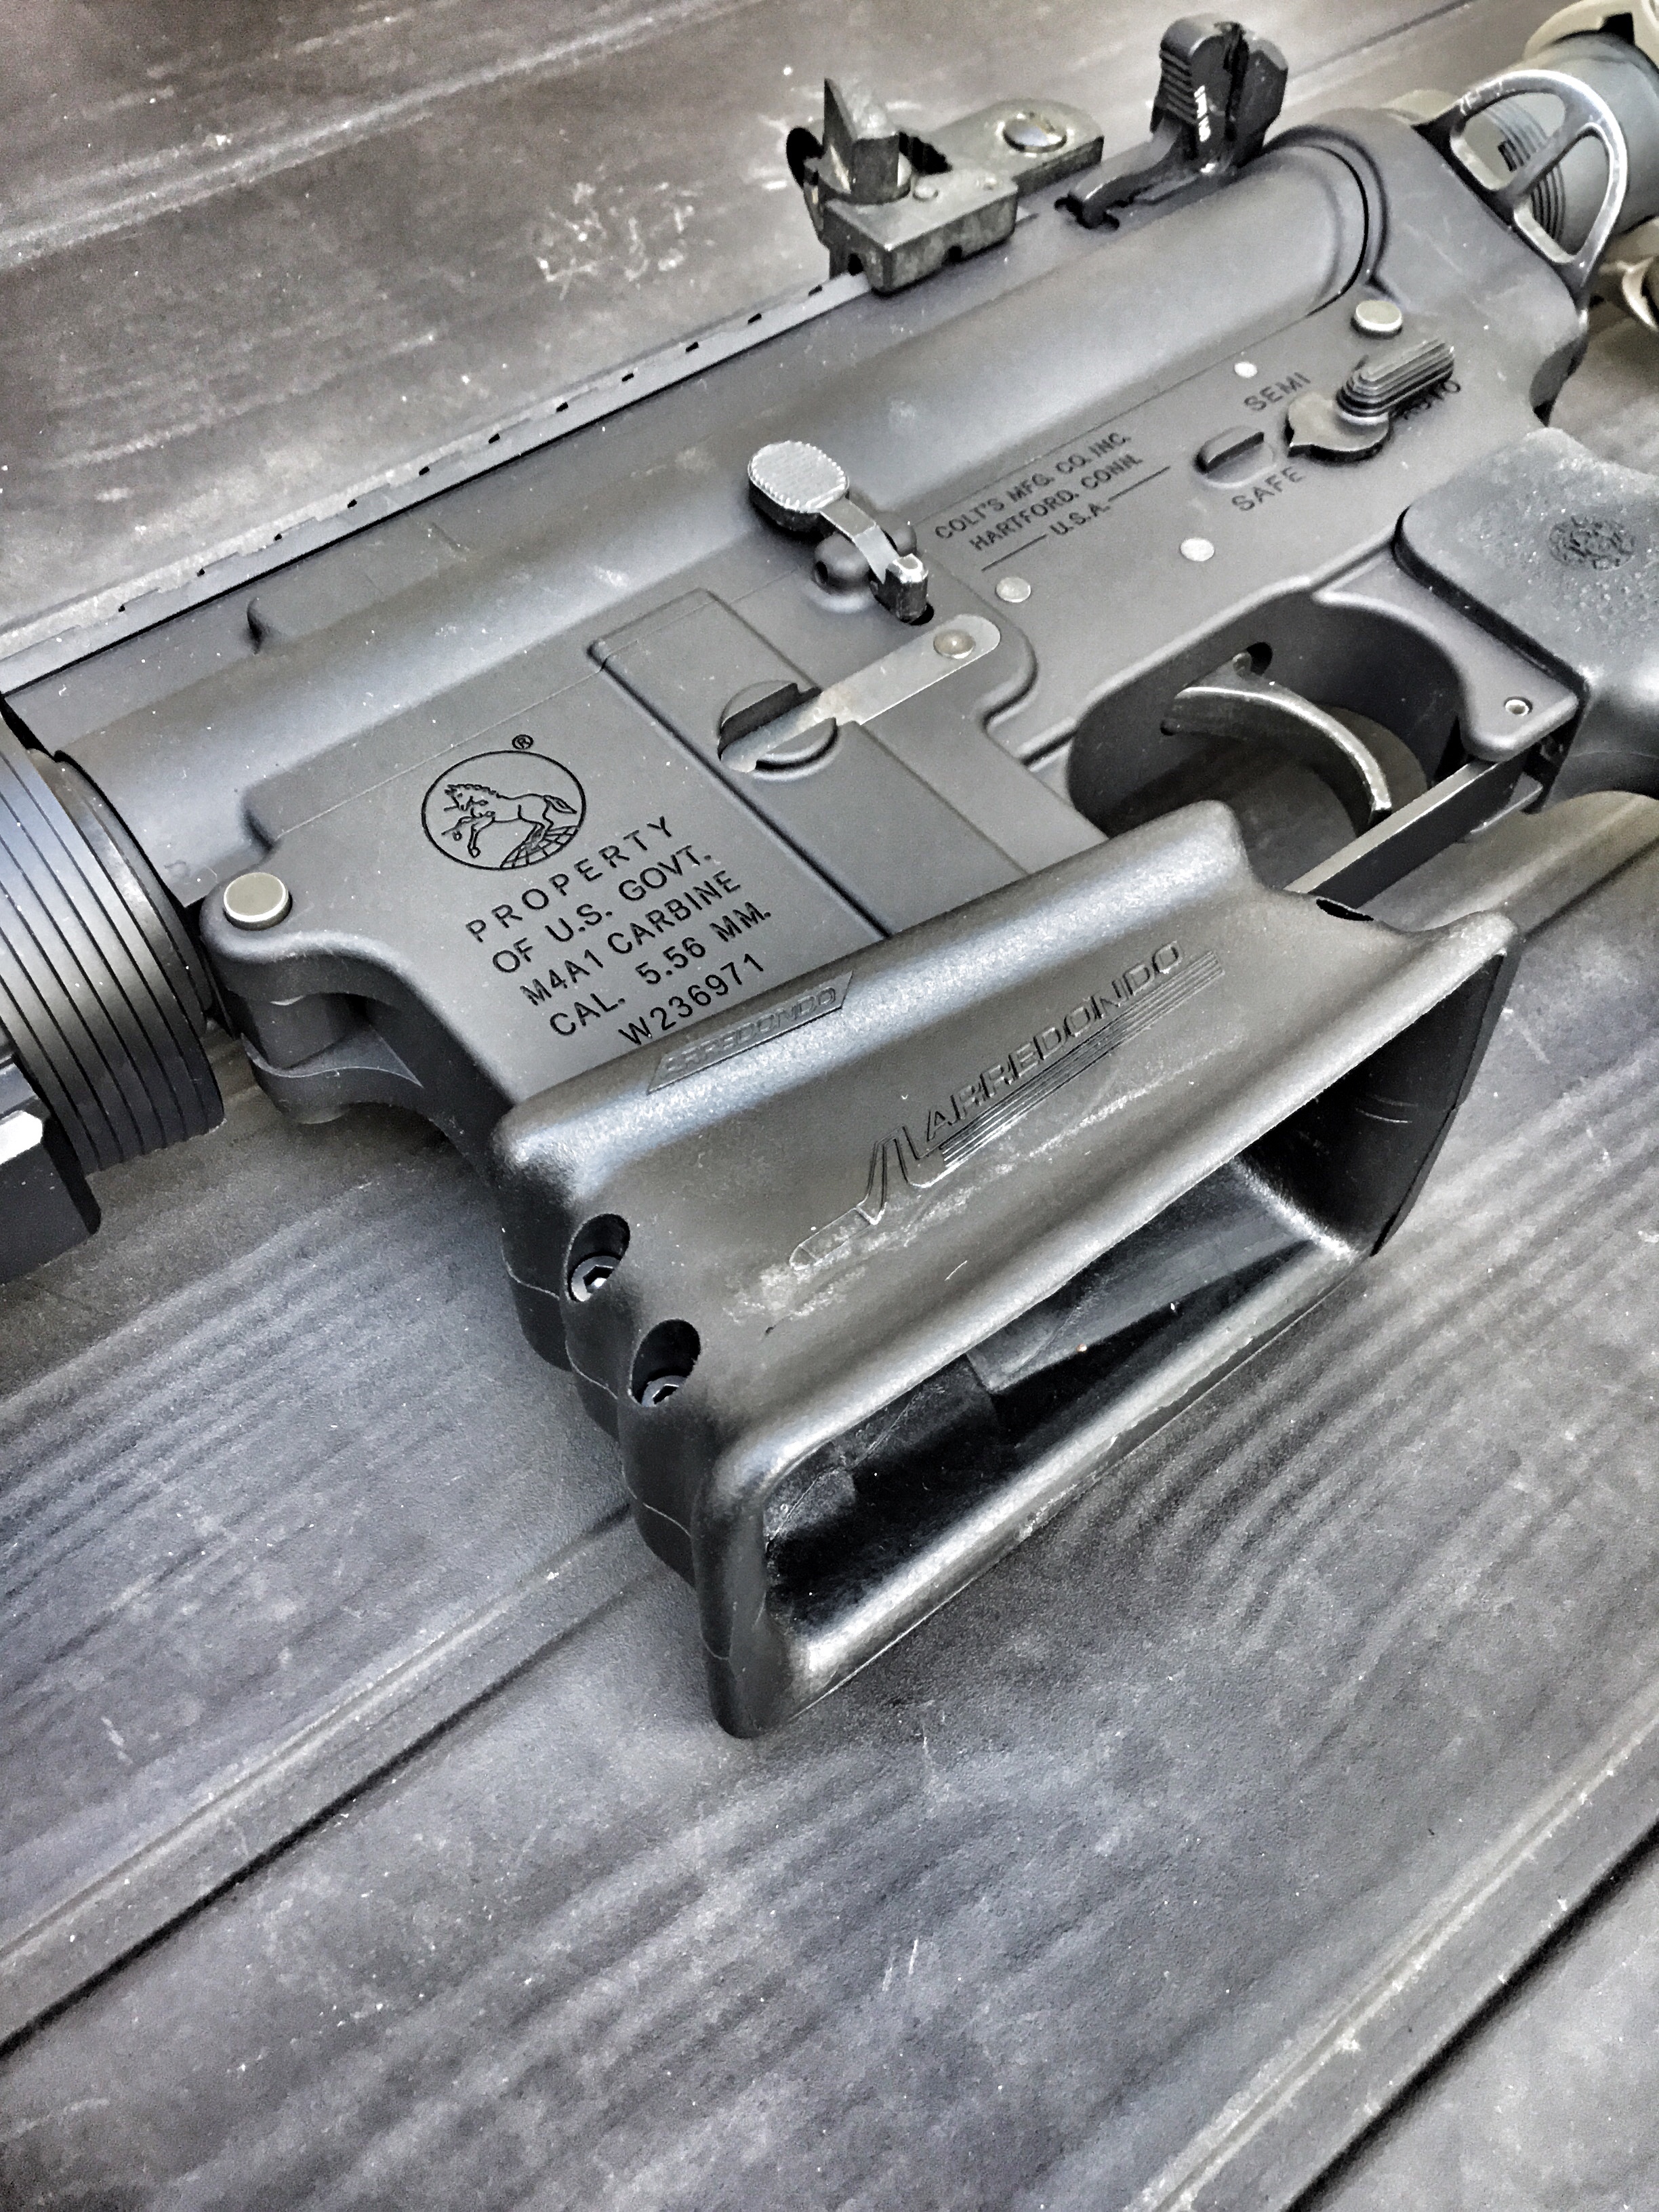
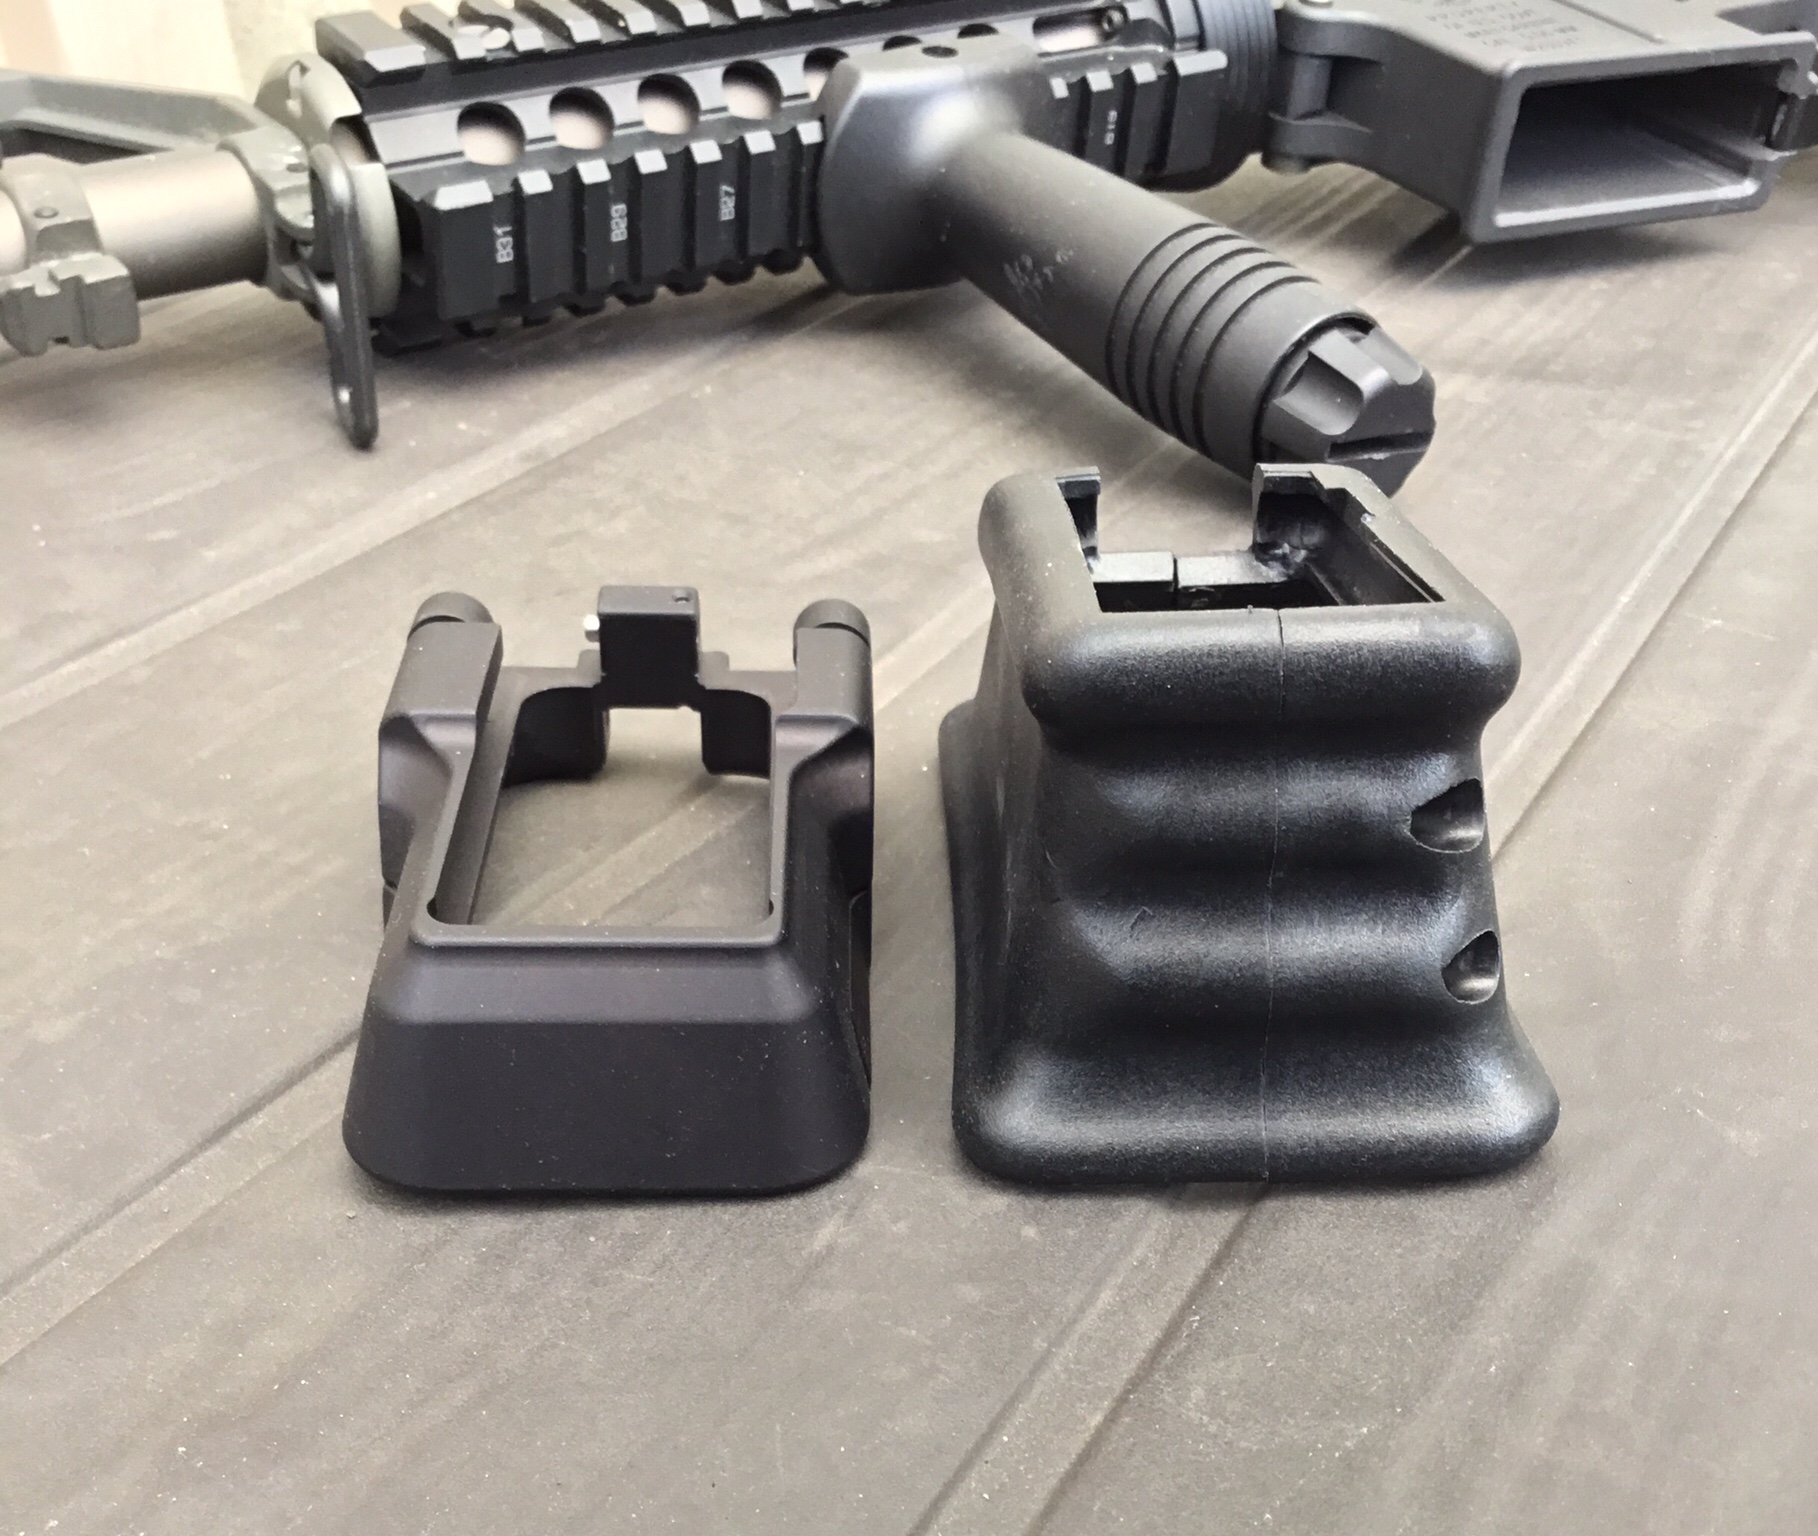
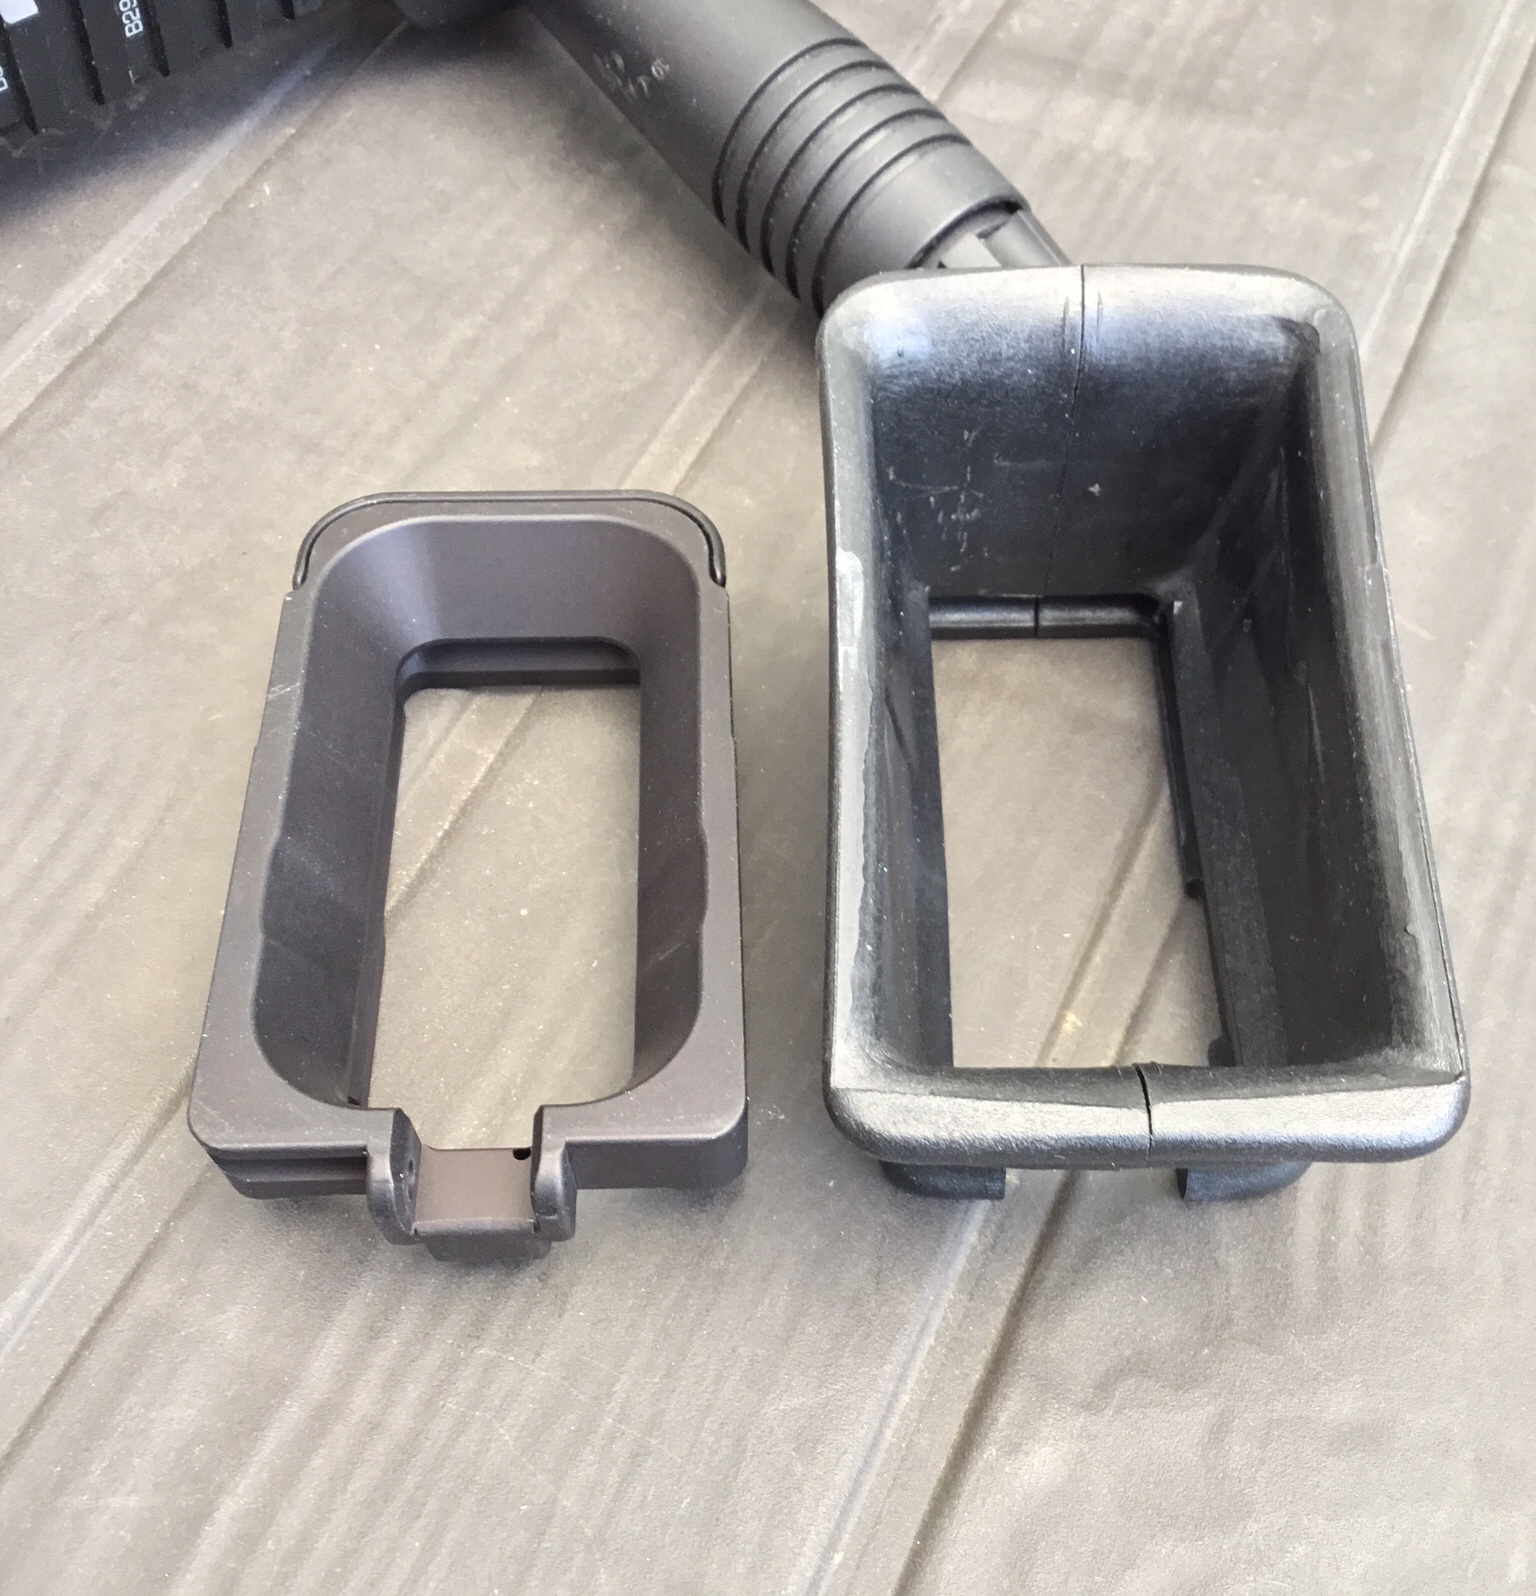
On the face of it, I’ve replaced my Arredondo magwell grip/funnel like for like.
However, digging below the surface a little, a few points:
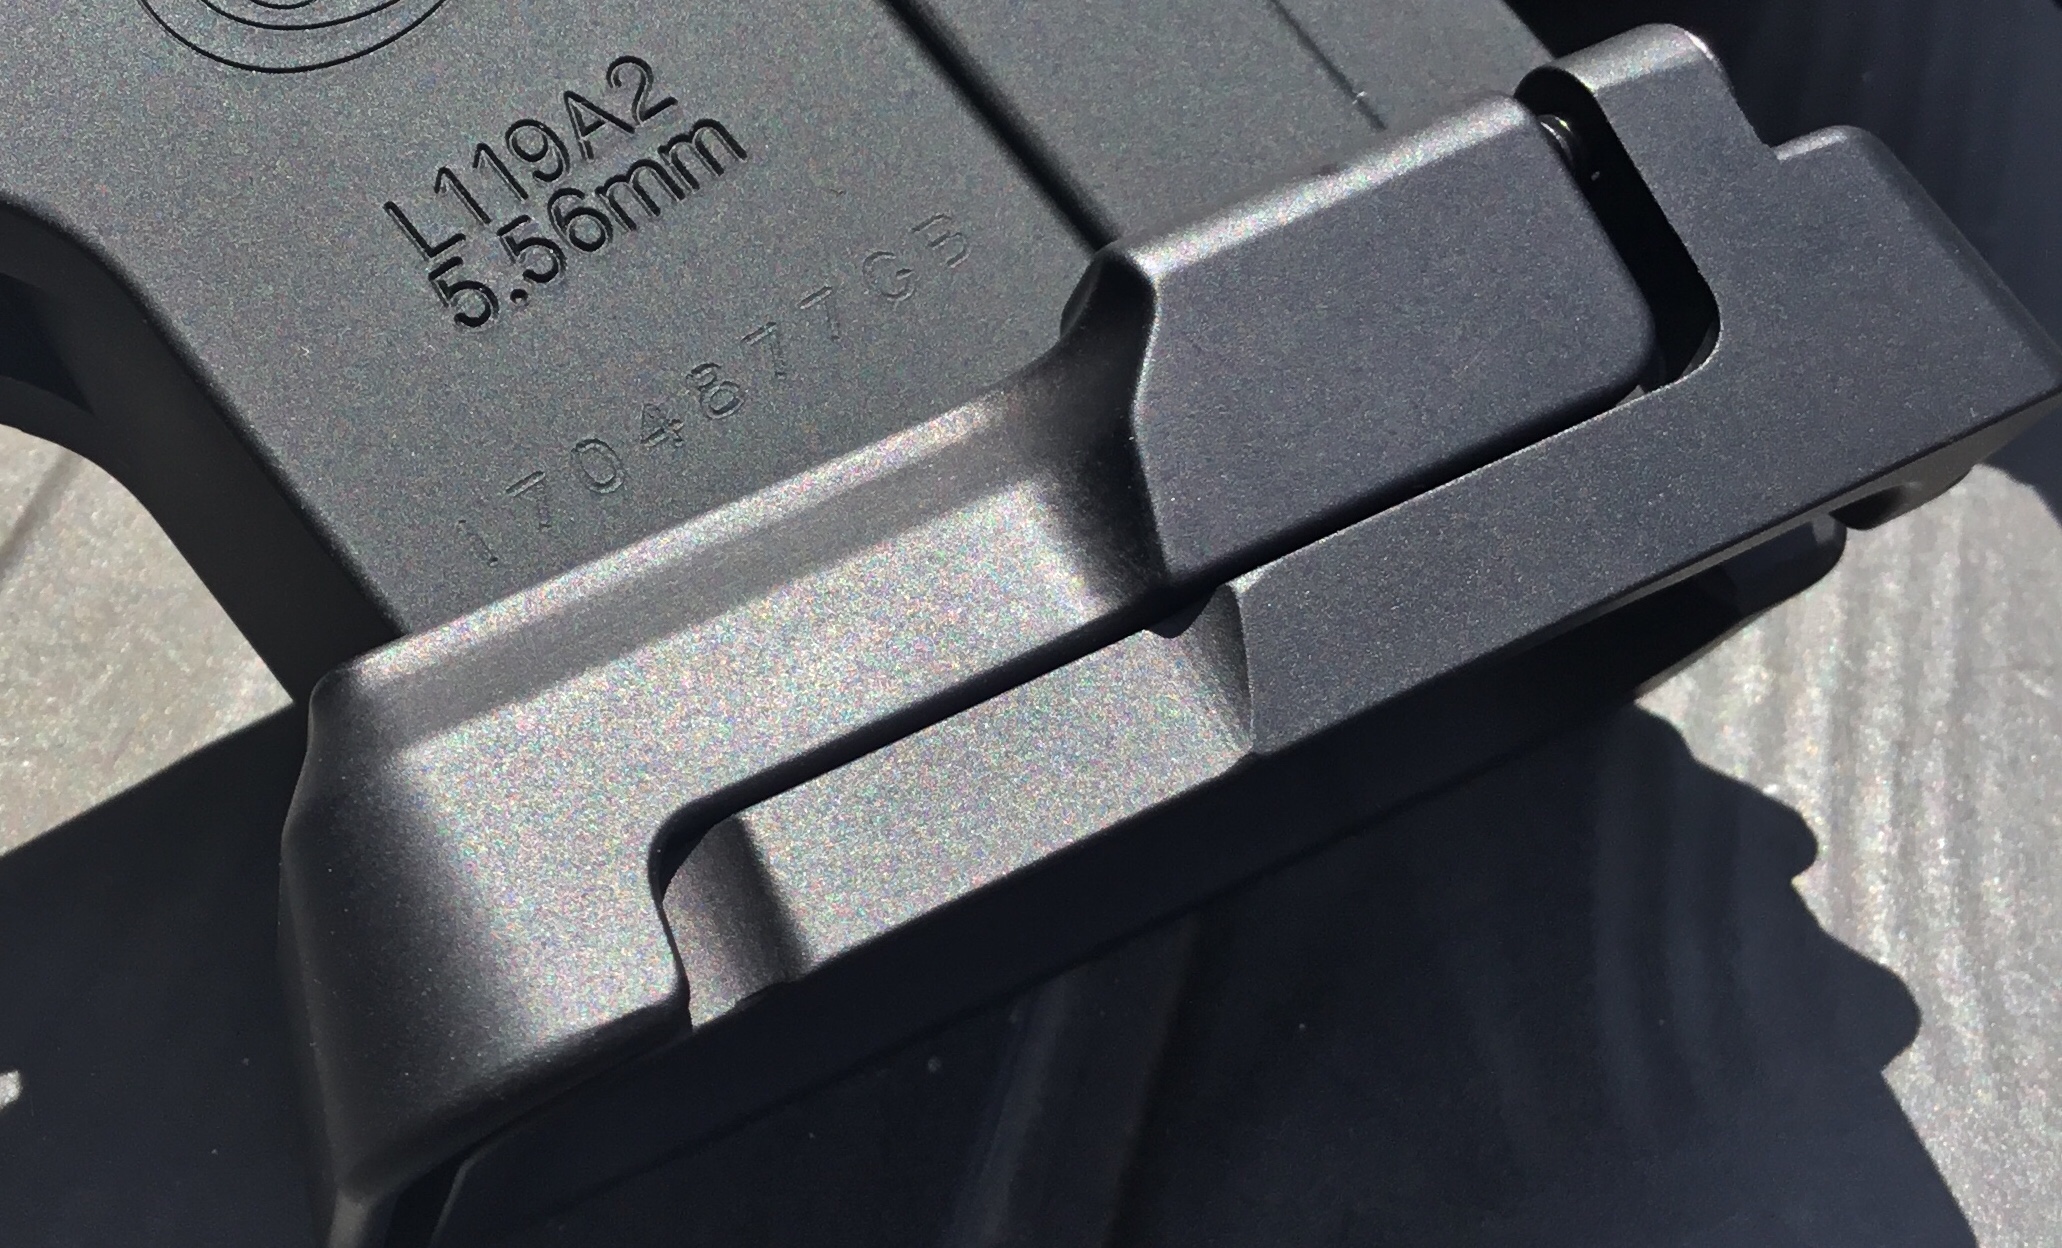
- The Arredondo was arguably clone-correct for my Block 1.5 AFSOC-inspired M4A1 Systema PTW; the Lancer isn’t
- The Lancer is aluminium, whereas the Arredondo is polymer
- The Arredondo is a much better magwell grip than the Lancer, being longer and contoured for grip
- The Lancer is rock solid, when installed; the Arredondo is not – which doesn’t inspire confidence
- The Lancer is a really handsome piece of kit, intelligently designed and beautifully made
- It’s actually easier to change mags using the Lancer as opposed to the Arredondo, and they drop freely on release
- For the price, the Arredondo is hard to beat and easily obtainable in the UK
- The Lancer is expensive and difficult to obtain in the UK
- The Lancer puts the trigger guard into winter glove clearance mode, and accepts its detente
- Note: I’m using Gen 2 Pmags which have been modified for use in an HK416 (extended magwell); I can’t comment on unmodded Gen 2s
All that being said, a few comparison shots of the Lancer (left) and Arredondo (right).


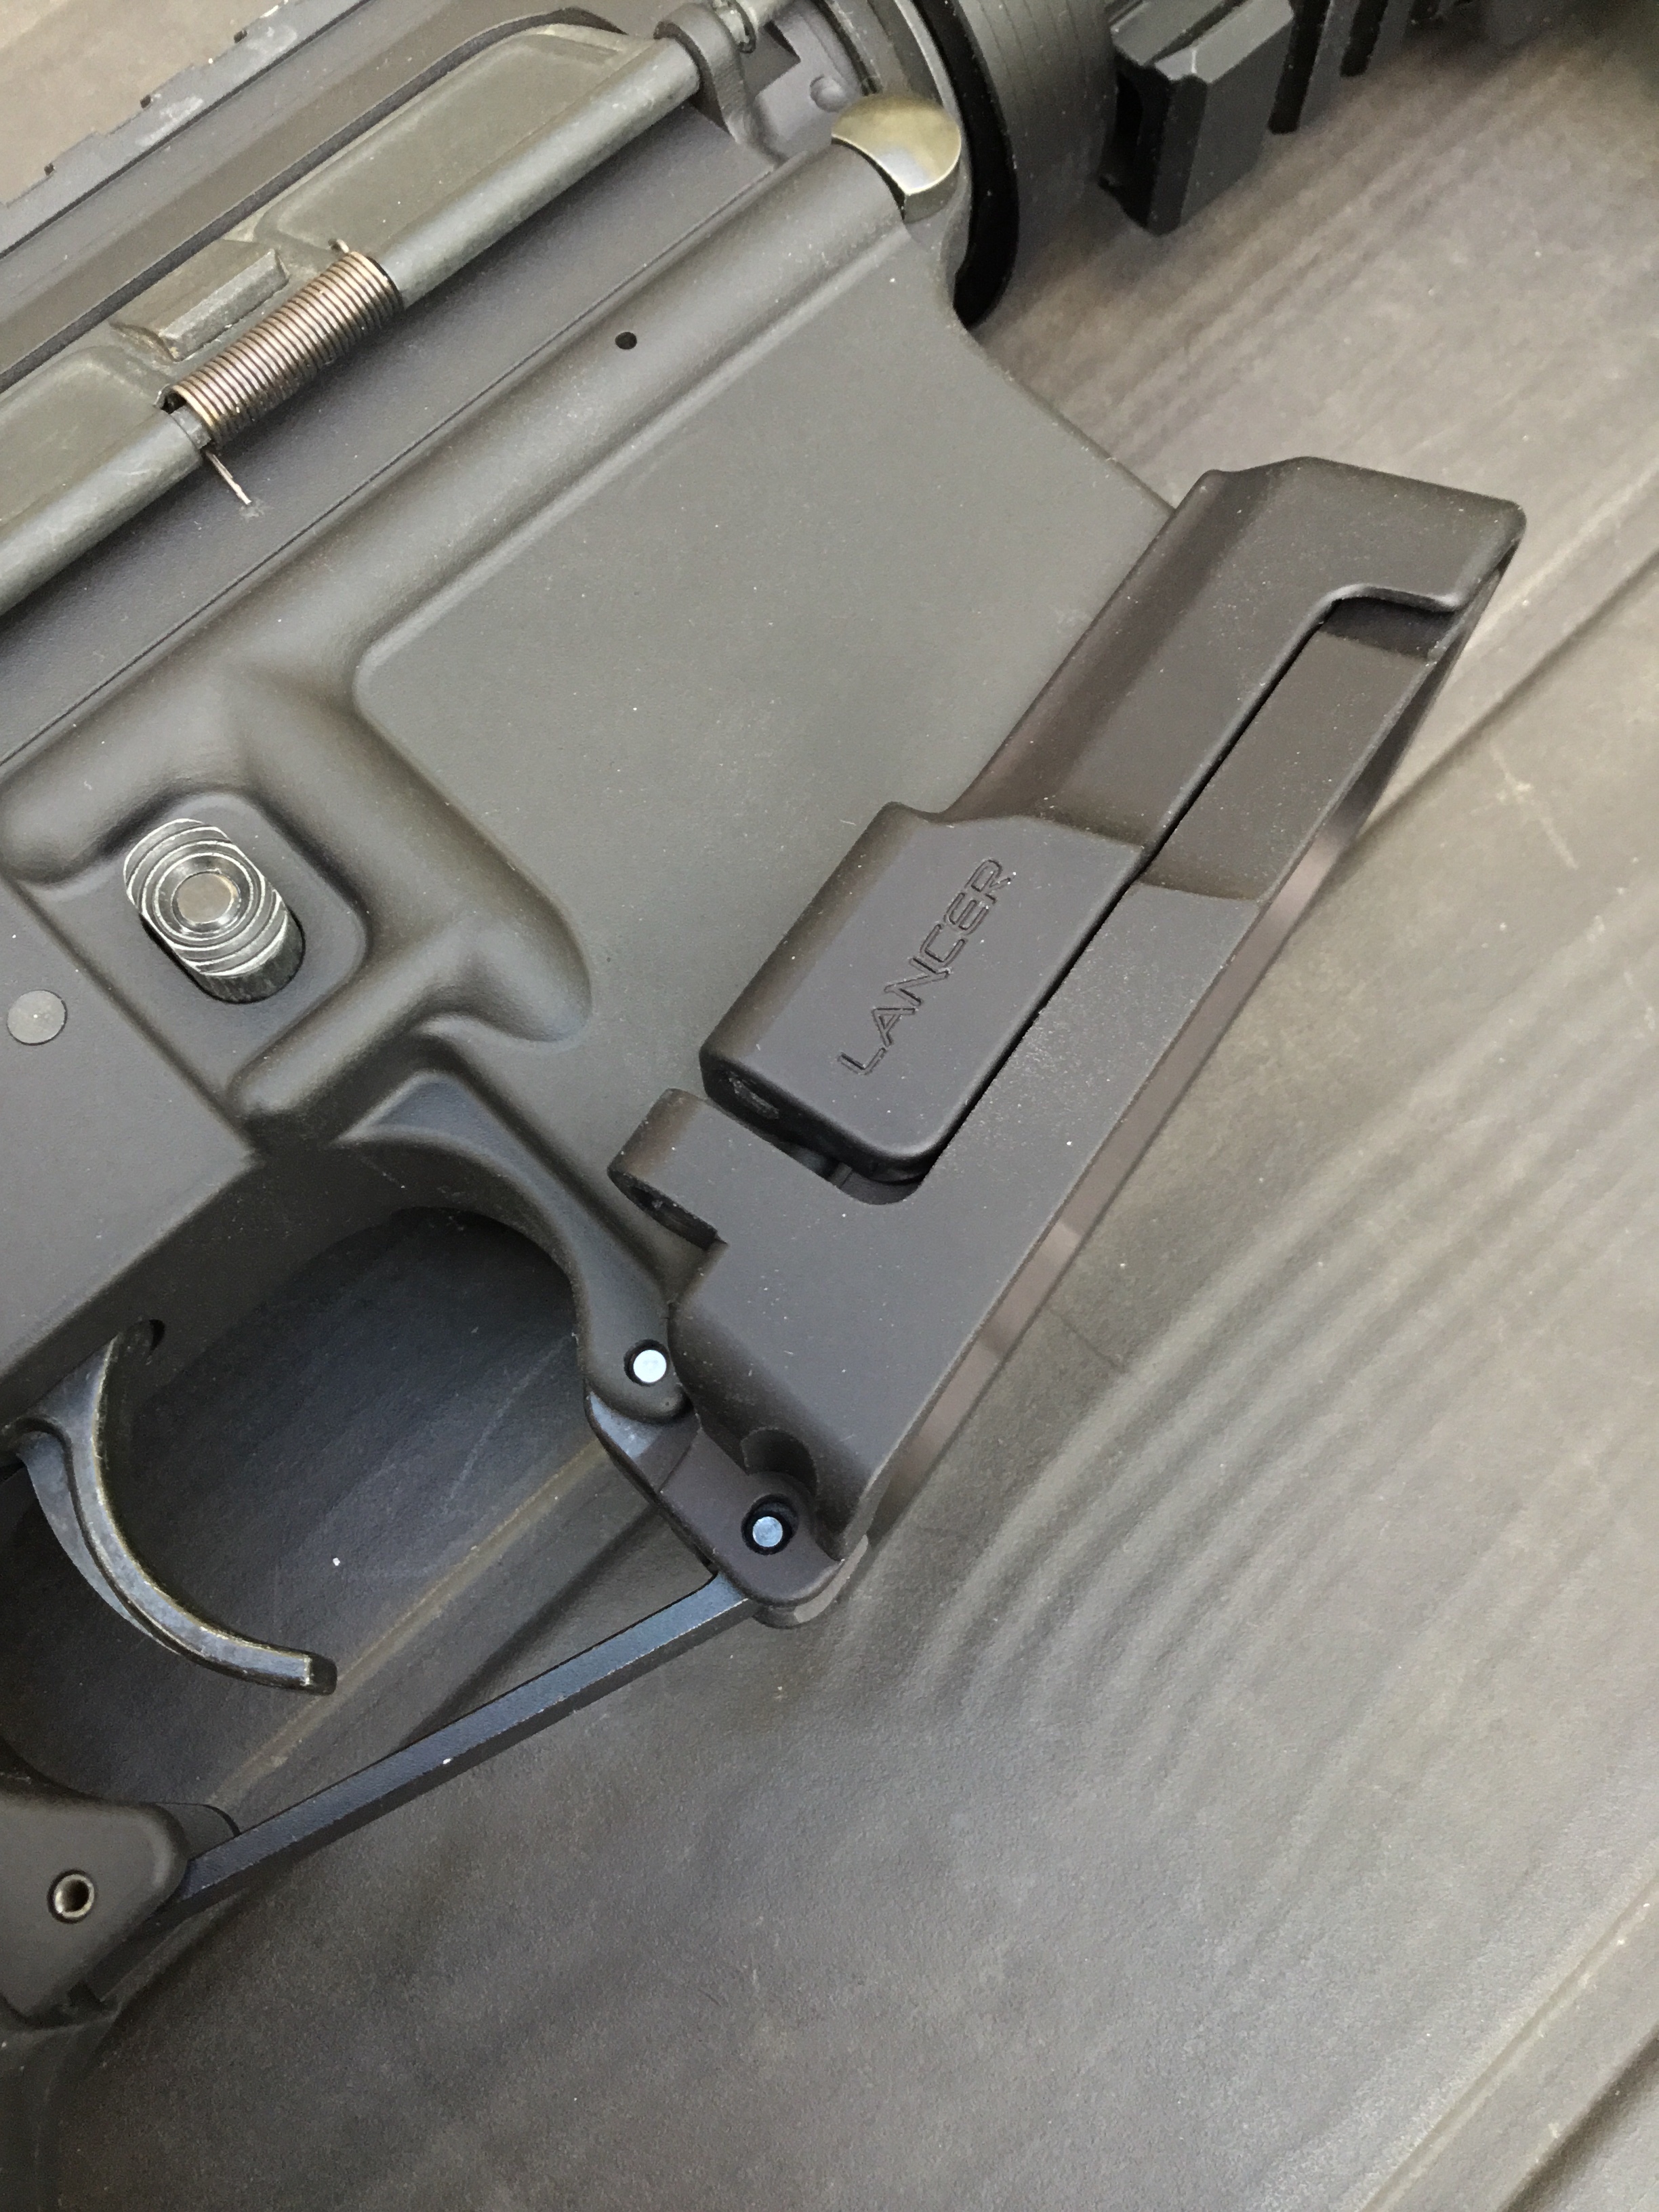
As mentioned, the Lancer is a two-piece design and that’s key to its excellent, rock solid fit.
First, open the trigger guard by depressing its detente. Next, separate the upper and lower halves of the Lancer. You’ll need to remove and set aside the Allen bolts at the rear of the unit do this.
Then, slide the lower half onto the magwell.
Don’t force it. Take care to locate the Lancer’s detente where the trigger guard’s was.
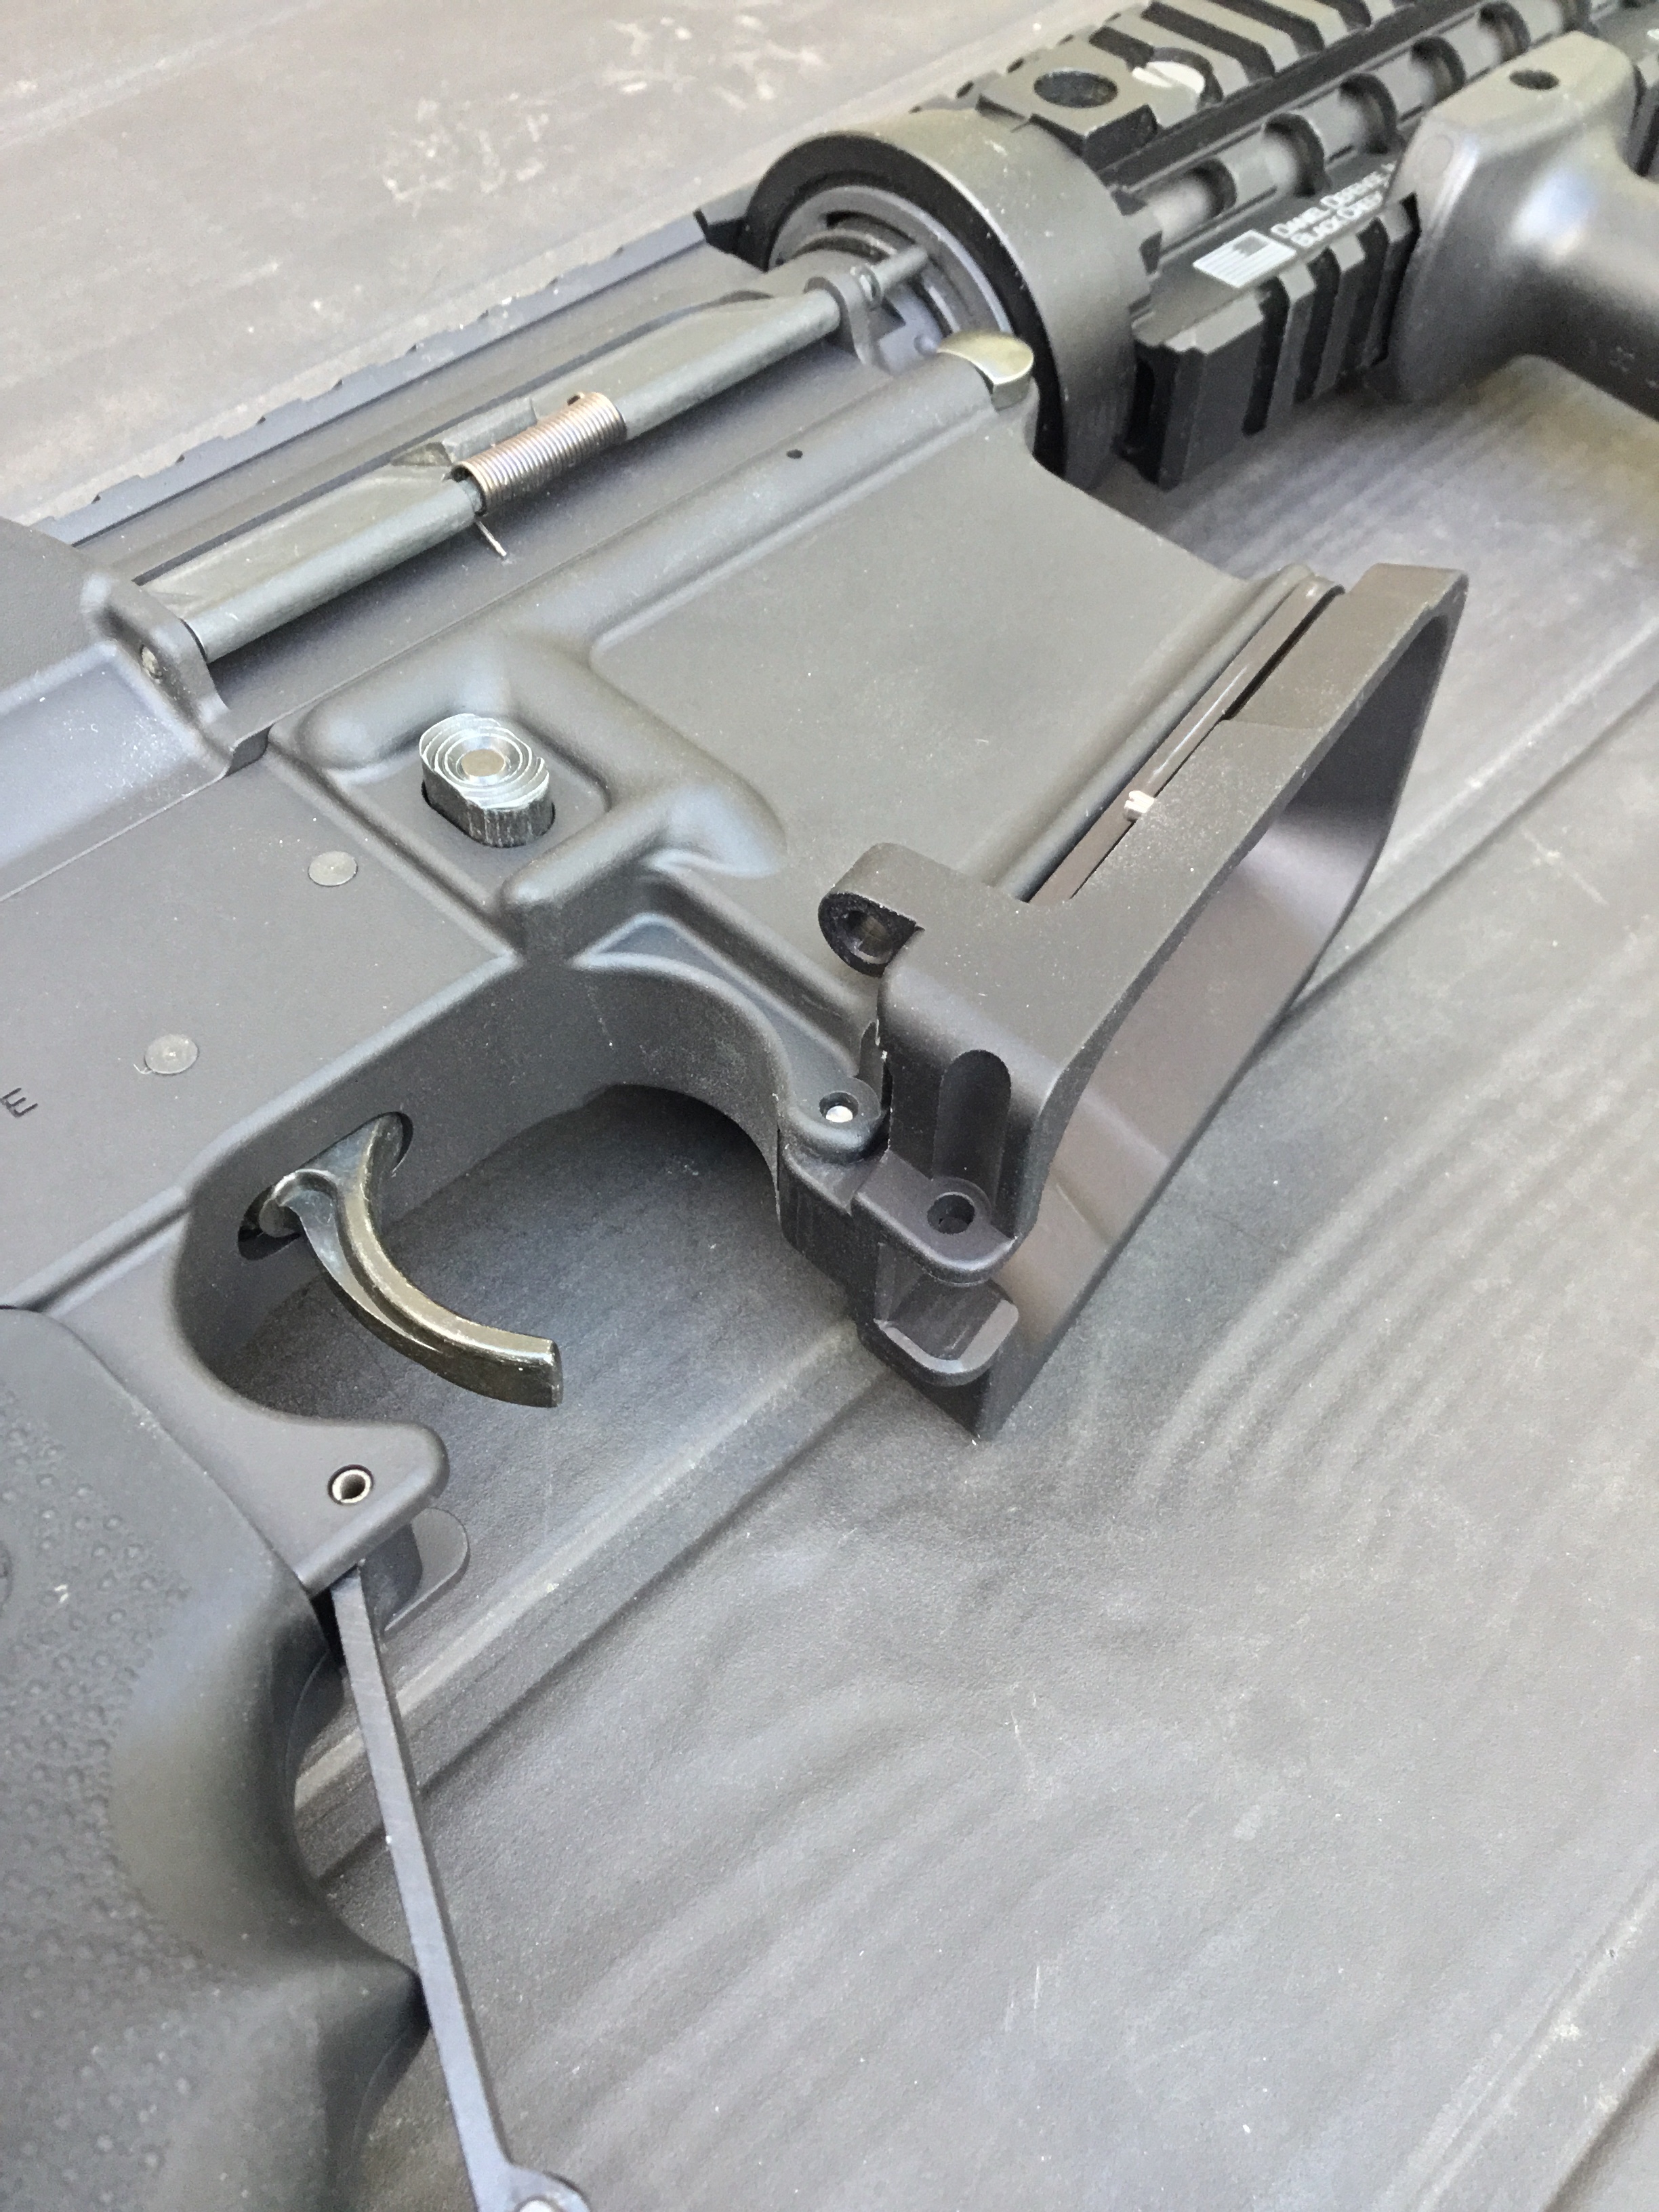
Then, lock the trigger guard’s detente into the Lancer.

Next, slide the Lancer’s upper half back onto the lower half. Then replace and tighten the Allen bolts at the rear of the unit. Torquing specs and further instructions are included with the packaging.
Follow the instructions Lancer provides to complete the install.
And, you’re done.