

Words and Pics By DANTER
I can get bored quite easily, so I’m always fiddling with my kit.
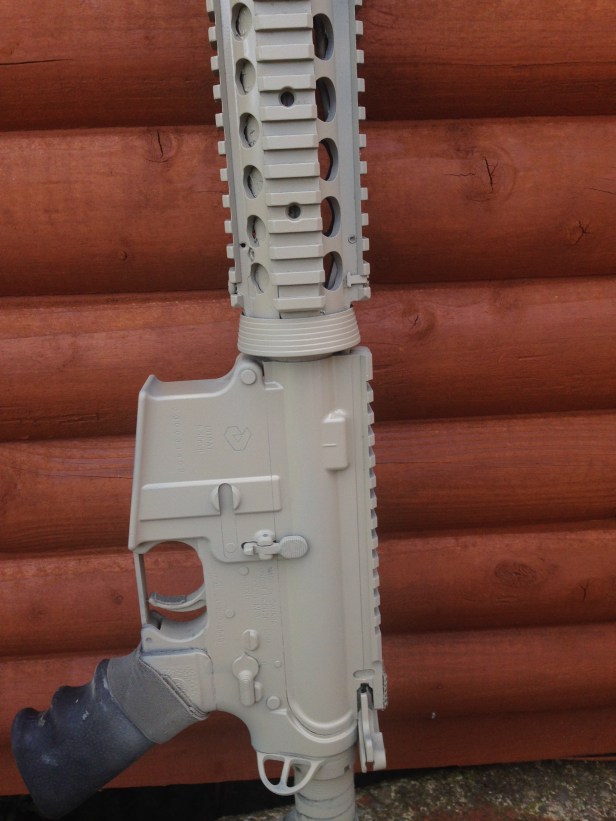
With two weekenders coming up back-to-back and the fact that I’ve just had my L119A1 PTW’s outer barrel milled down to the correct UKSF 10″, I thought I’d treat myself to a new paint job:

For years I’ve built sci-fi props. Stormtrooper costumes, Snowtrooper costumes – you know the sort of thing. So I like to think I’m bringing that experience and those standards of ‘dressing up’ to milsim – including how my PTW looks.
Most of my PTW paint jobs in the past have been based on the average ‘just get it over and done with’ military methods. However, after absorbing a number of newer UKSF influences and seeing more and more elaborate efforts in the wild, I decided to raise my game and deliver a paint job which required more skill.
Also, I loved Rich’s bold and brave disruptive pattern on his 416, so I wanted to go one better – mainly to annoy him 🙂
Here’s Rich’s blaster:

Whilst trying to find pics of the new UKSF L119A2 online, I somehow came across a few paint jobs from a Hereford firearms coating company called Tactical Coatings UK.
Their pics show custom paint jobs on hunting rifles etc, but also the odd AR – as well as shotguns and some absolutely bitching sniper rifles. The latter and the company’s location got me thinking about potential customers…
One pattern in particular caught my eye. So I spent a few days trying to work out how they’d achieved it. I practised on a few items of kit, to see if I was going down the right track.
Then a light bulb went off.
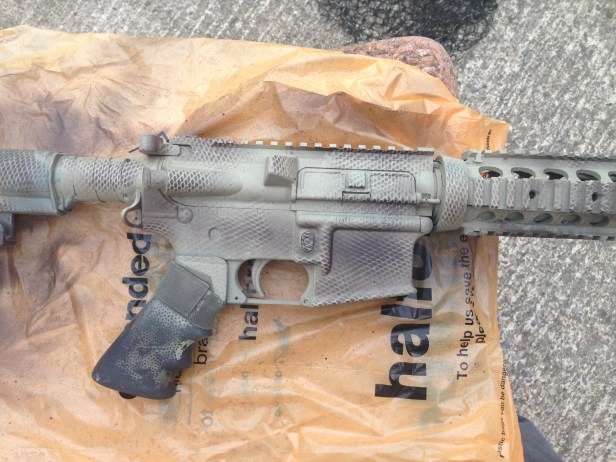
Essentially, the paint job consists of contrasting scales over a base pattern. This alters depth perception and disrupts the blaster’s outline.
Technique
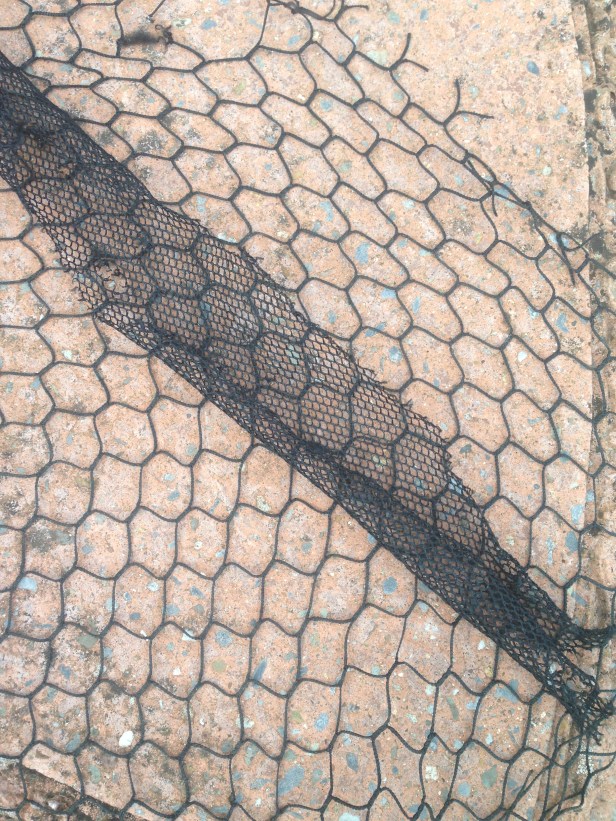
I dismembered an old fishing net which had a fine and coarse mesh.
I cleaned old paint off my blaster with petrol. Petrol works amazingly well in this application, but also needs to be removed before painting to allow the paint to key. So I followed up with meths, on a microfibre cloth.
I removed the blaster’s accessories and masked optic lenses and delicate areas.
Next, I applied an even base of Halfords Khaki and allowed it to dry. I used Halfords camo range throughout and I thoroughly recommend it.
Apply fine net to some areas and use hairspray to to stick down tight to the receiver (thanks to Rich for that tip).
Next I sprayed Halfords Brown over the net at various distances, moving the can in arcs at different speeds. This yields both bold and faint scales.
Let it dry.
Apply template stickers or masking tape shapes. Crimp and scrunch down to achieve non-uniform shapes, or just tear.
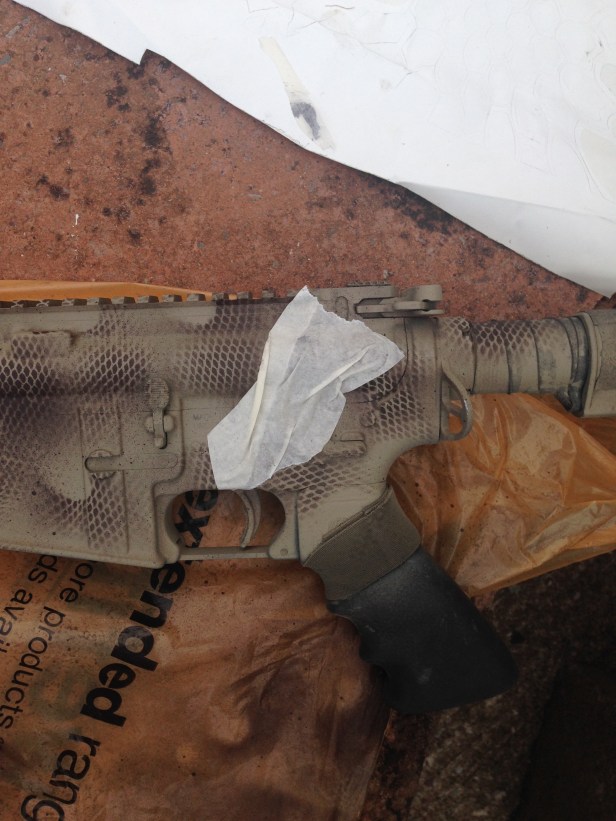
I tried to lay these in a way which would break up the outline of the gun.
Now take the coarse net and lay it over the gun. Lightly spray Halfords Olive Green over the gun in whisps and waves and try to leave a few gaps. You are not trying to totally coat the gun here.
Do this step twice.
The idea is to cover some of the Khaki and Brown underneath but still leave other areas showing through. This is achieved by ensuring the path of the nozzle crosses over an existing spray area, to make certain areas heavier than others.
Let it dry.
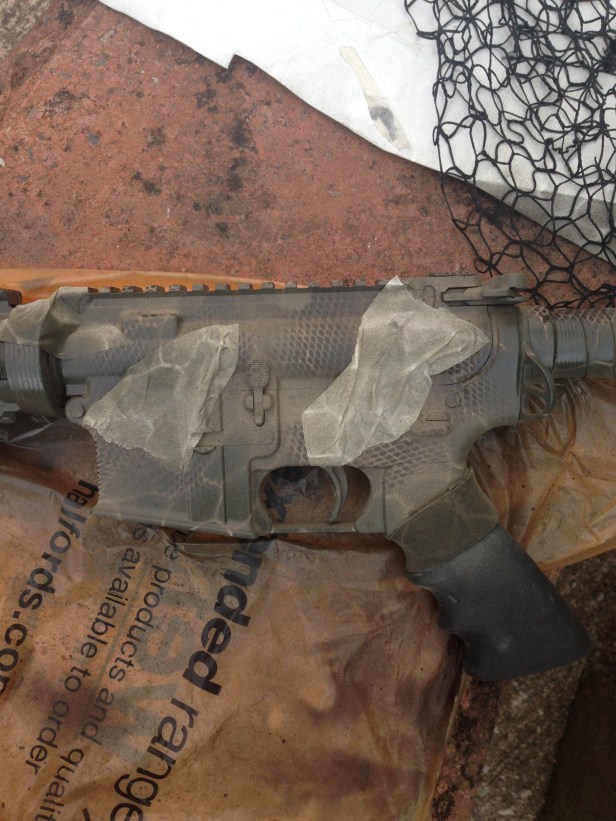
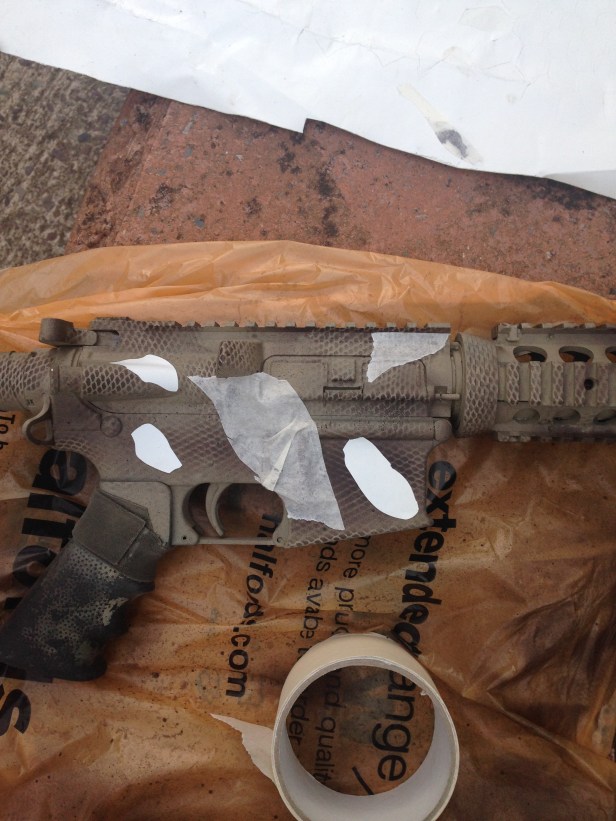
Now we add contrasting highlights to the template stickers, to create depth.
Break up two small chunks of sponge. These are used to dab the paint on.
Spray Brown paint into a suitable vessel. Soak paint into the sponge, then lightly dab it along the right hand edge of each template. You’re aiming for a bold line along the immediate edge of the template, which then fades away into the receiver.
For the left contrast template edge, spray Khaki into a suitable vessel and repeat the process.
You have to be brave at this point, because it looks like a pile of shit:
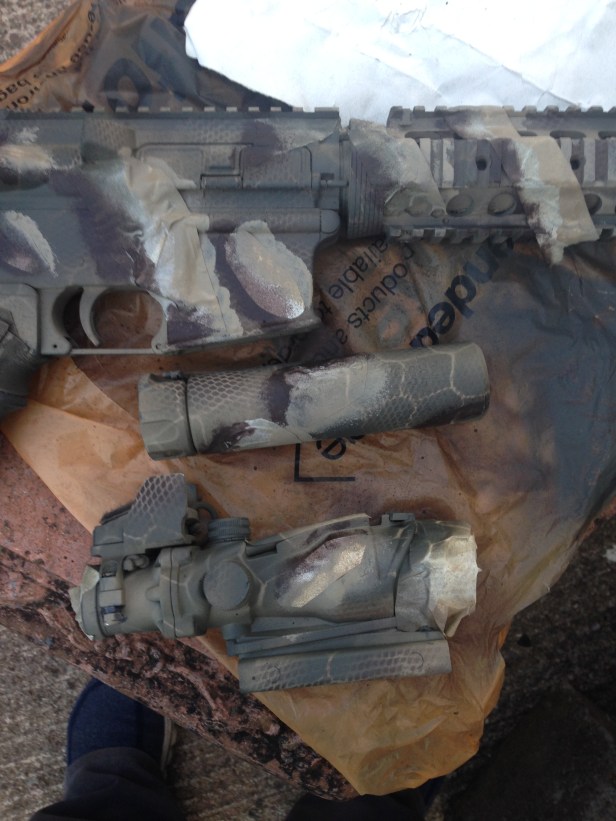
However…let this dry, then slowly peel away the template stickers to reveal the real paint job beneath.
Blurred pic, but you get the idea.
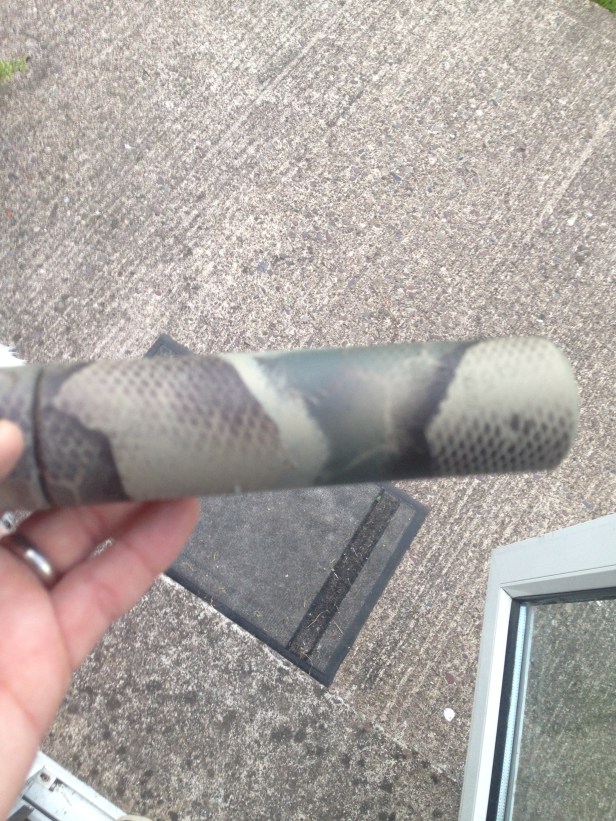
Slap on a coffee and marvel at your work 🙂


I’ll let this one weather naturally.
While it may look a bit too disco at first, it will just look better and better with time and use.
Parts List
Tackleberry built and modded 2008 model PTW (which Rich made me buy)
Orga inner barrel and flat hop
Prime Diemaco lower*
Prime Colt upper*
UKSF-correct KAC RAS with VFG
UKSF-correct 10″ steel outer barrel, milled by Tackleberry*
Hogue grip
CQD rear sling plate
PEQ15 with Hans Factory kit and UKSF-correct black sticker set from Jay B*
Mini Docter
ACOG TA31*
ACOG mount
ACOG Killflash
Surefire Scout with KM2 head
Surefire RM45 Scout mount
Tactical Optician sacrificial lens for KM2
Garmin 301
Magpul Pmags with transparent Z-Shot inners
Angry Gun SF can and hider*
